X-Ray & CT of Carbon Fiber
Which method - X-Ray or CT?
Many times per week we are asked “is X-Ray or CT the correct inspection method for my project?”
The answer, of course, is not always straight forward. This post will highlight some strengths and weaknesses of each method.
The subject for inspection is a carbon fiber board with inclusions throughout. The complexity of this piece is that it is very large at (26″x26″). For x-ray this is fine, but for CT could prove to be difficult.
Fact Finding with Focus Scans
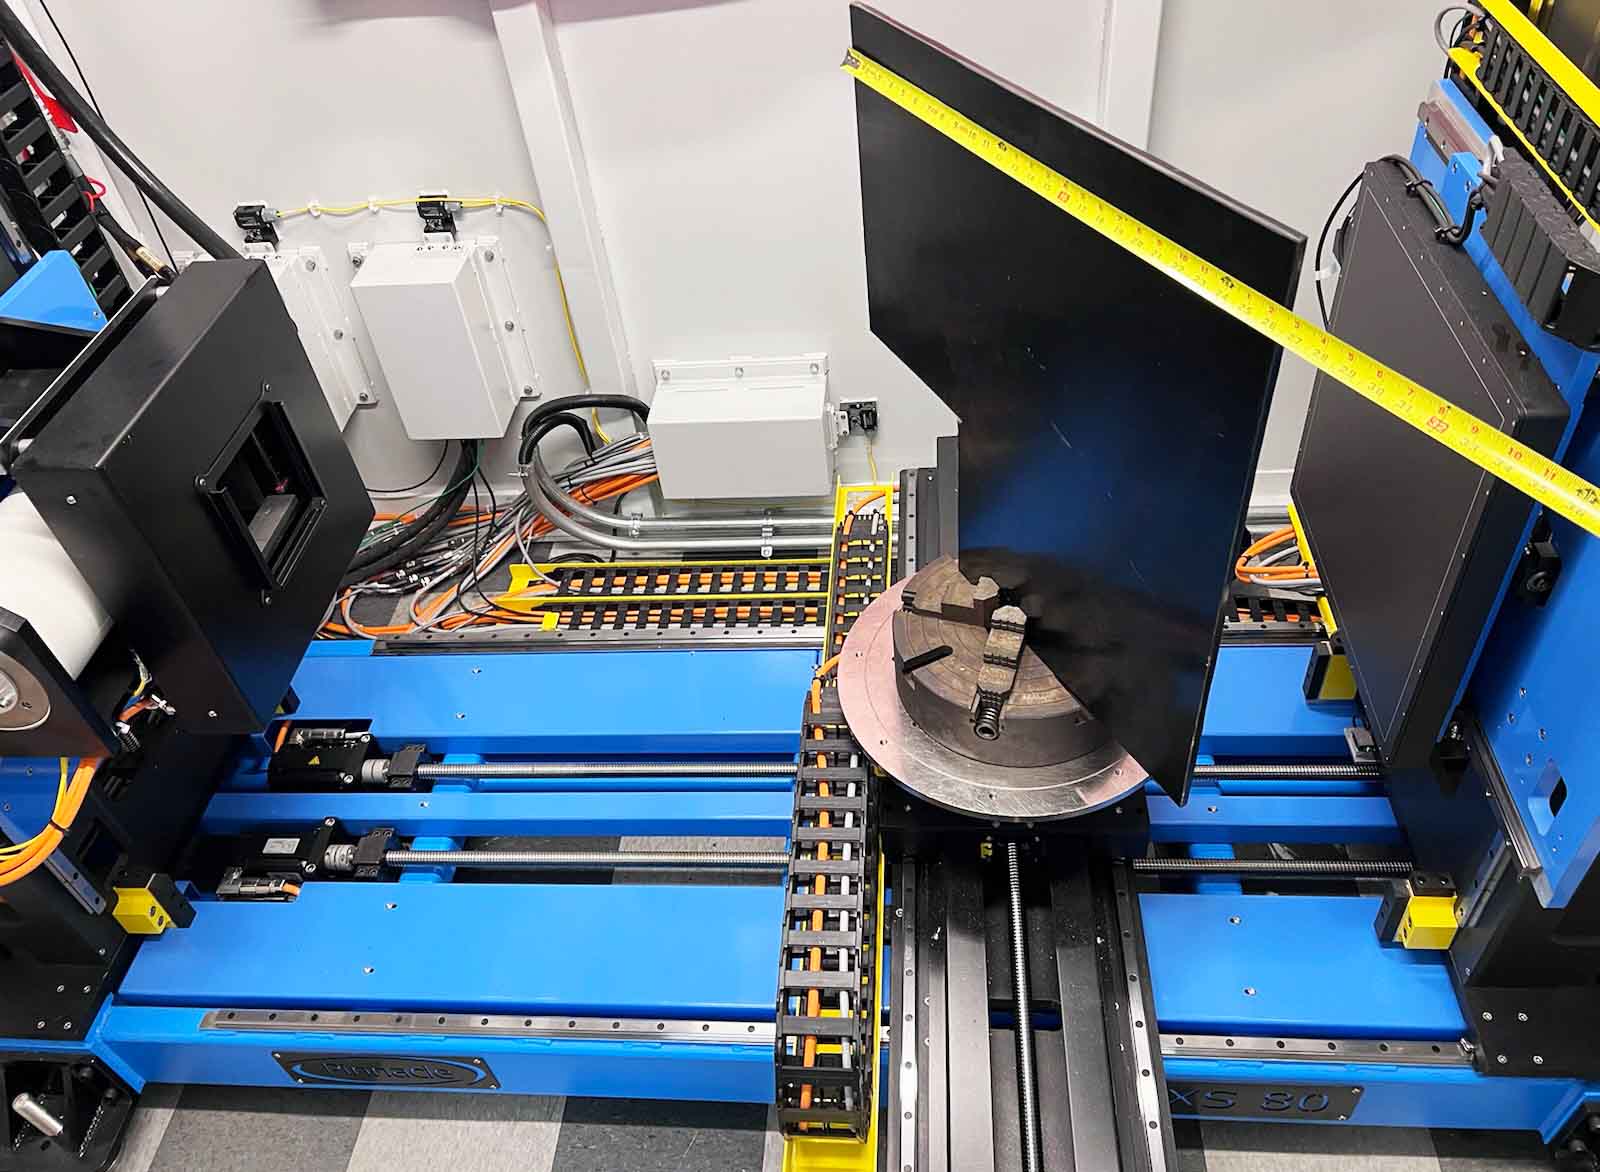
Because this project was intended for R&D and technique development we were able to cut a section out of the sheet. This probably should have been done by professionals; we ended up running through five blades cutting through the armor grade material.
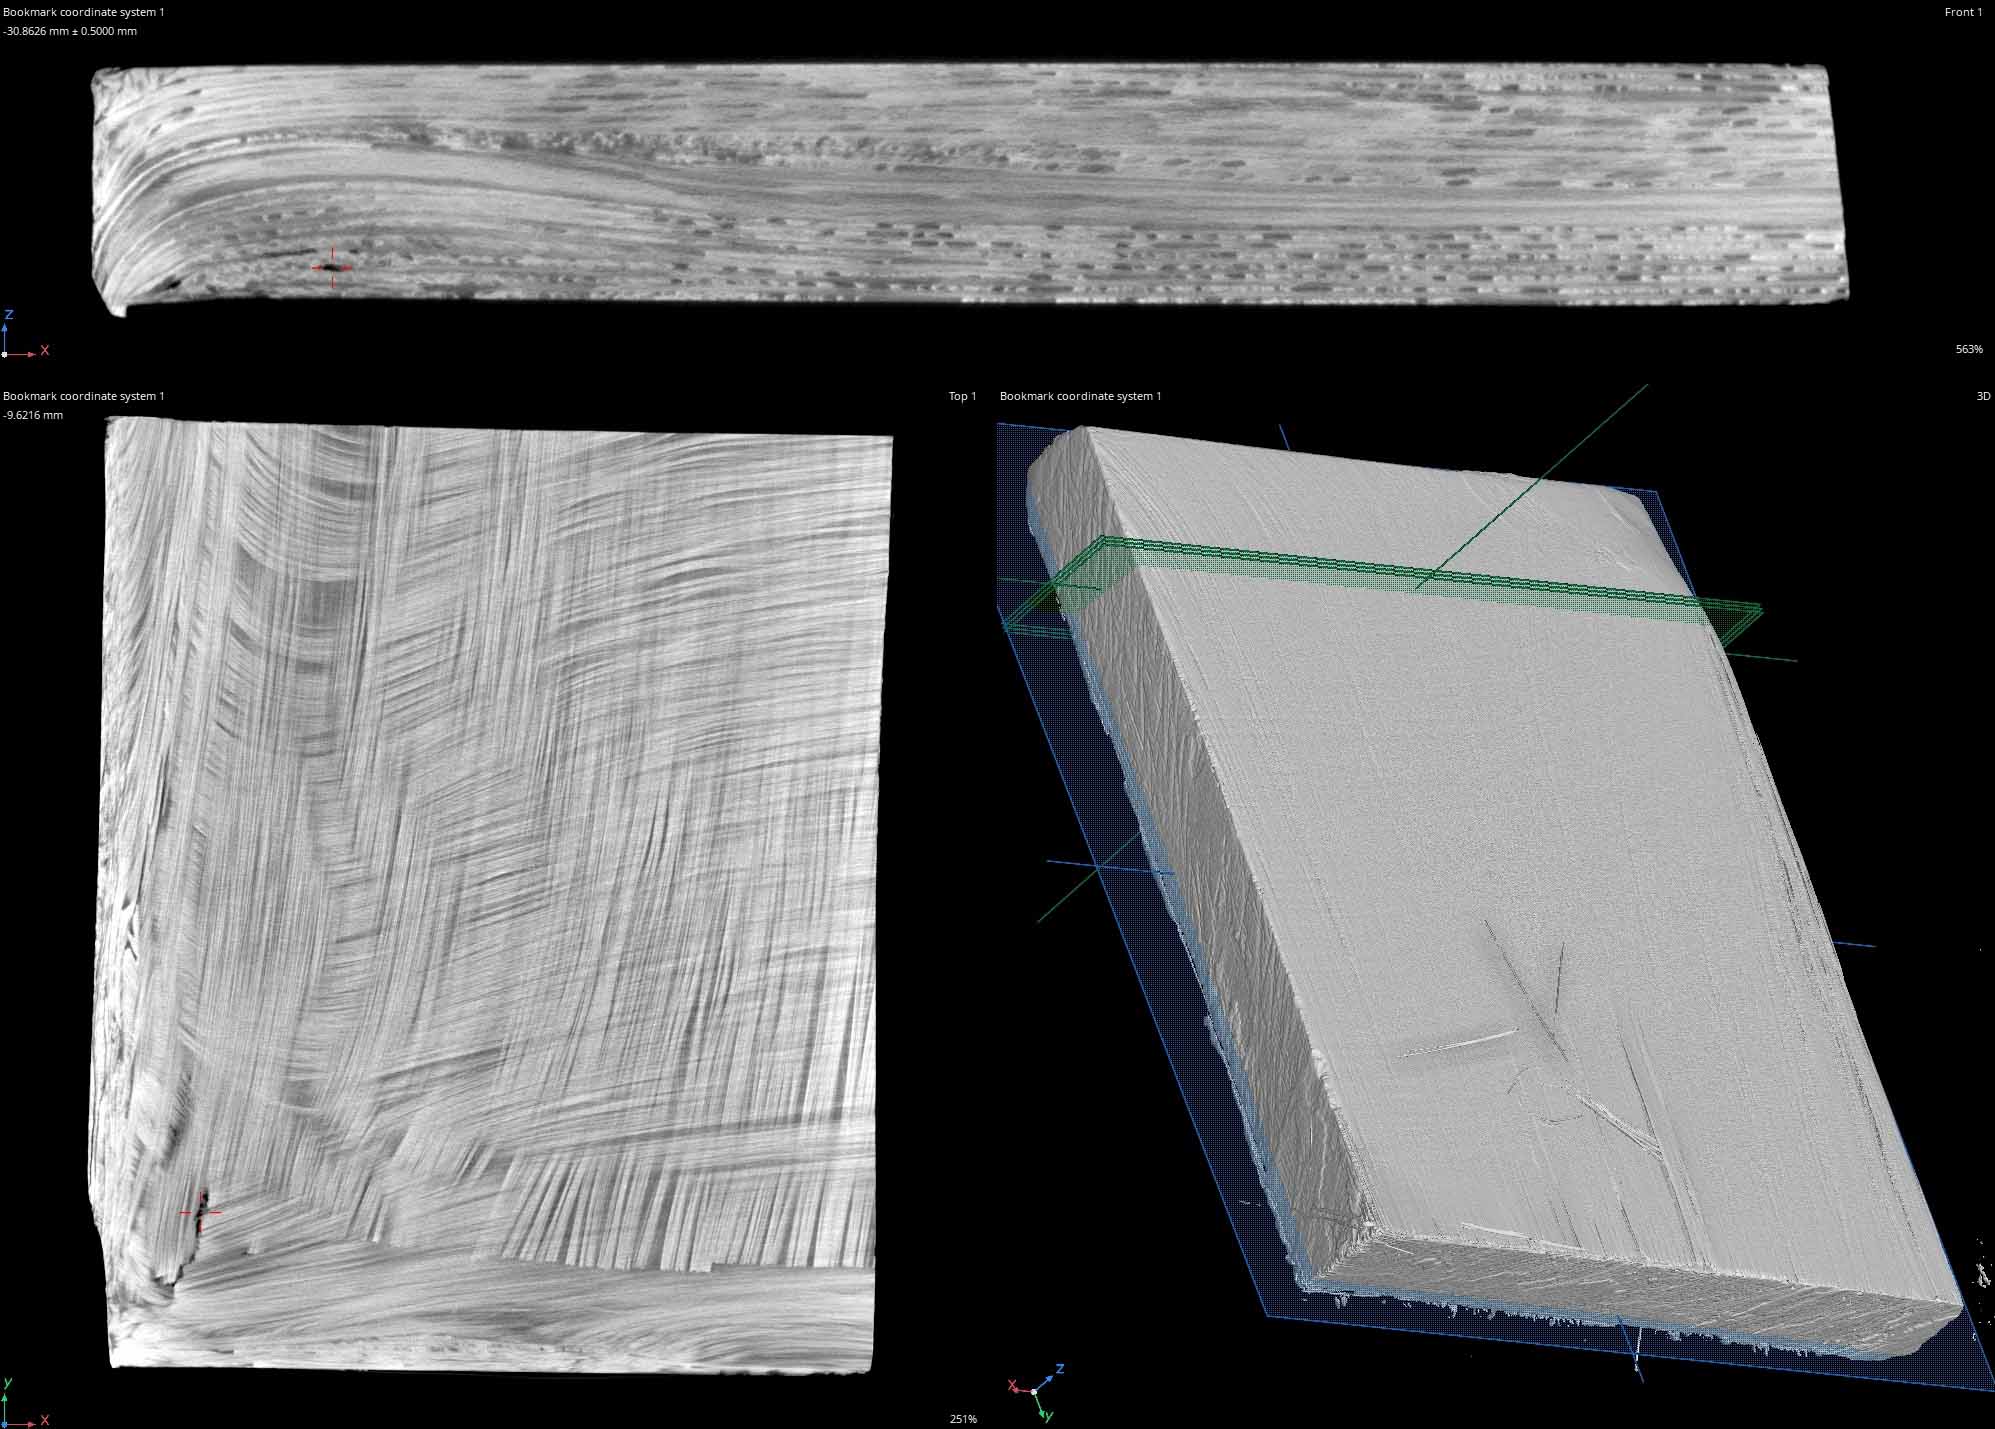
The purpose of the small section is to acquire the best possible data to be used as a gauge for the more complex development. If we can understand what the material looks like at higher resolution, it will help inform our higher energy, lower resolution technique development.
The focus scan highlights carbon fiber layers, layer orientation, and resin gaps.
General Inspection & Sorting
There are many ways to optimize scans. This focus scan can also be used as a gauge.
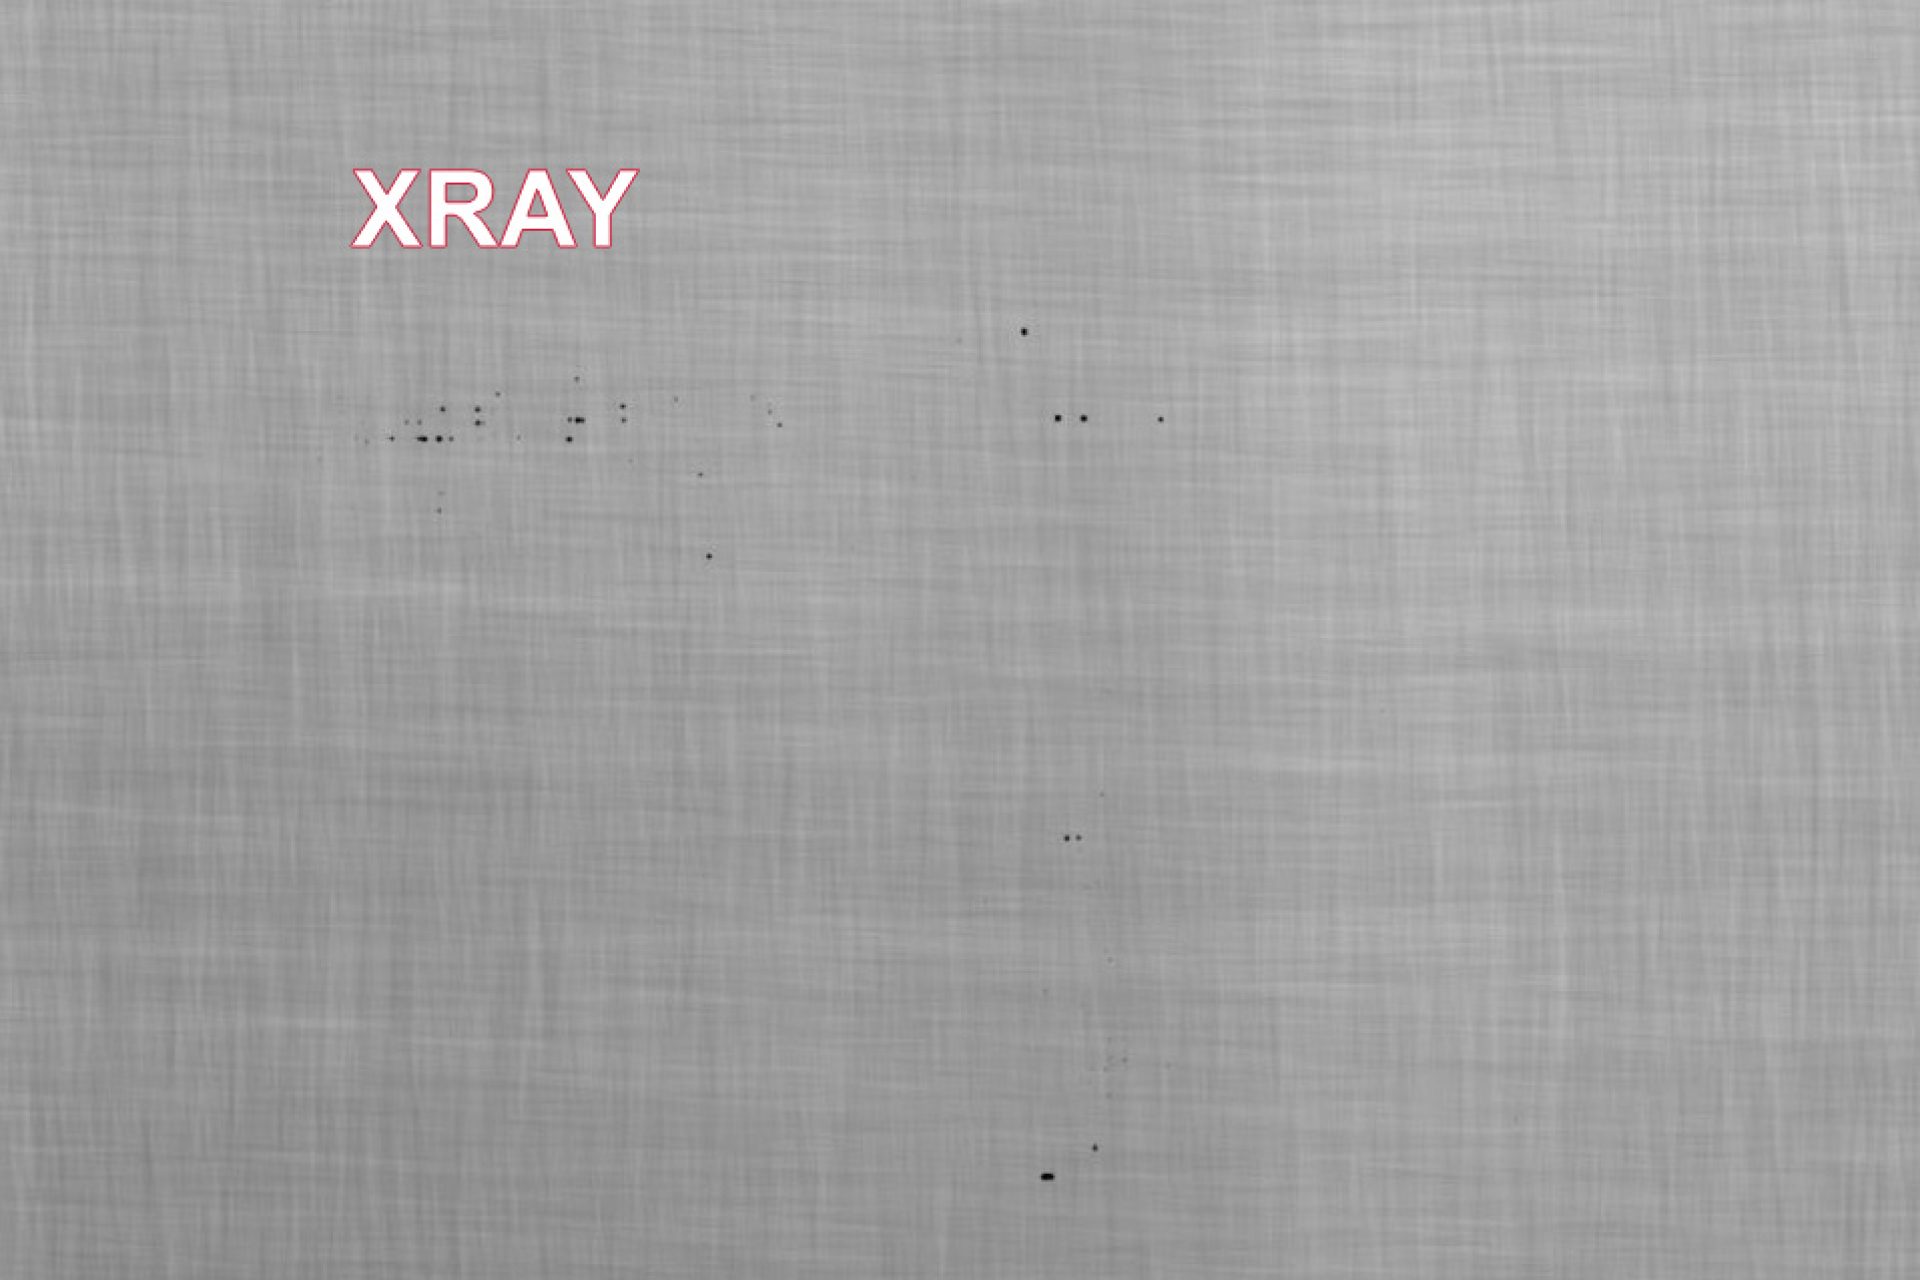
By using an RQI (Representative Quality Indicator – a part with known defects or acceptable level of defects) we can gauge the balance of speed or quality while maintaining the ability to detect defects. For example, if we can decrease resolution to image the large sheet and still detect defects as soon in the focus scan, we may be able to batch scan a larger area at once, significantly reducing cost. Or, if the highest possible resolution is required we can then optimize exposure or the quantity of projections.
X-Ray & CT: Side by Side
Here are some benefits to an X-Ray based project:
Speed – it’s much faster to acquire 2D shots than process CT datasets
Higher resolution – for large parts it is easier to optimize for resolution from a single orientation than consider a full 360 degree scanning envelope
Fewer artifacts – less x-ray attenuation and beam hardening
Here are some benefits to an CT based project:
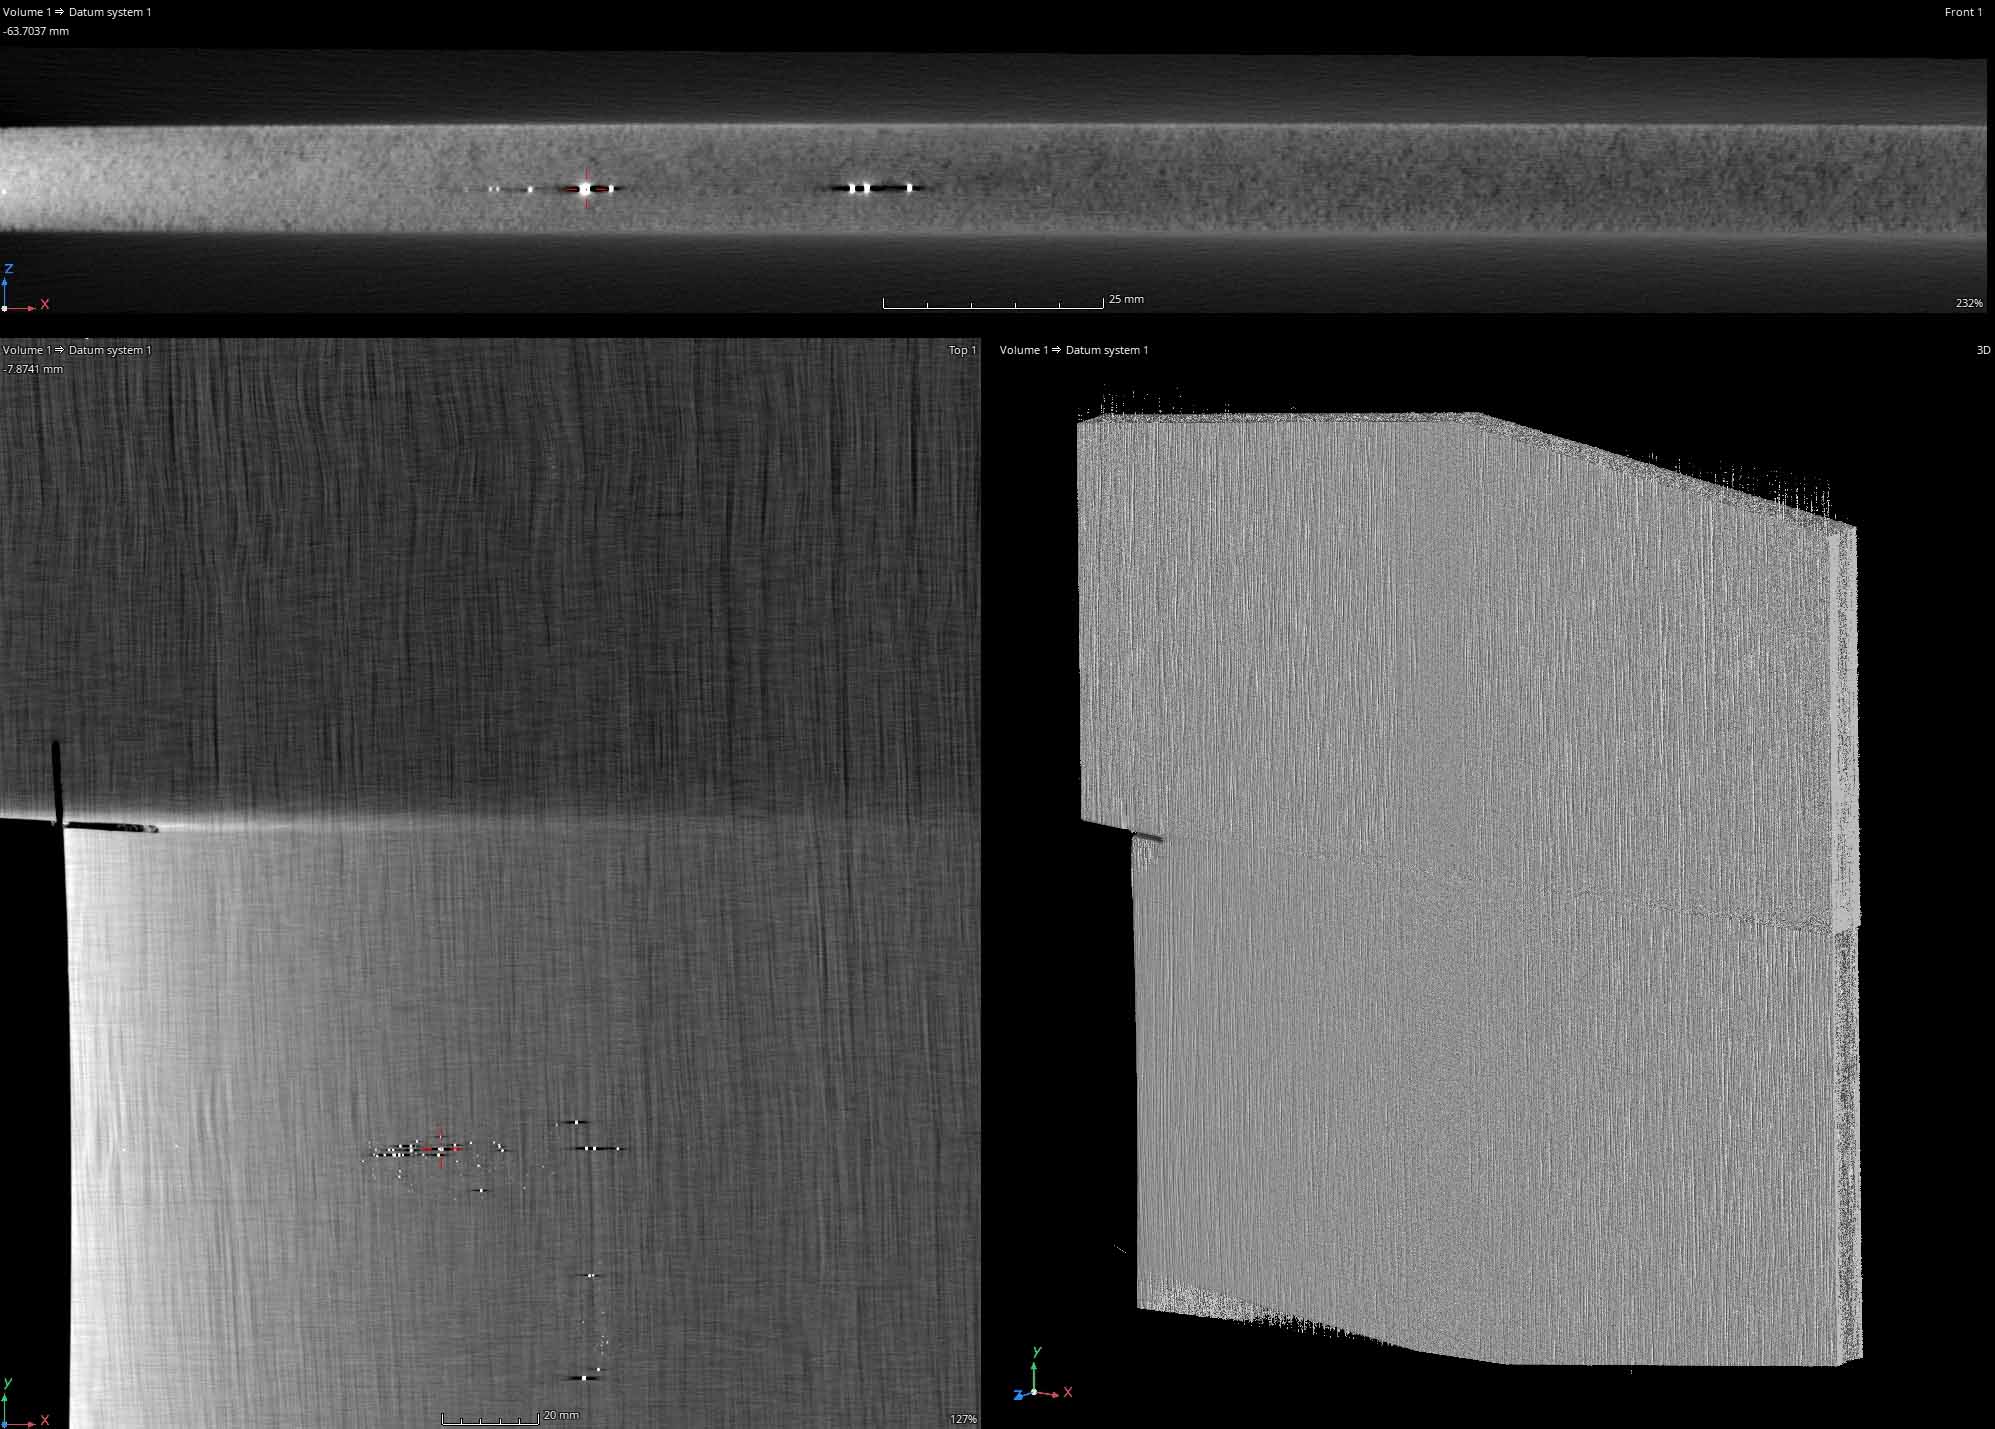
CT gives an additional perspective into the part. X-Ray may detect a default in one planar view, but CT tells you exactly where the defect is located. (Depth of inclusions is witnessed in the final image of this post.)
Complex measurements like GD&T & CAD comparisons
Some defects can only be witnessed in a 3D dataset. If a crack is perpendicular to the 2D view it will be missed, or multi-wall assemblies where individual features cannot be determined in 2D.
High Energy & Large Detector
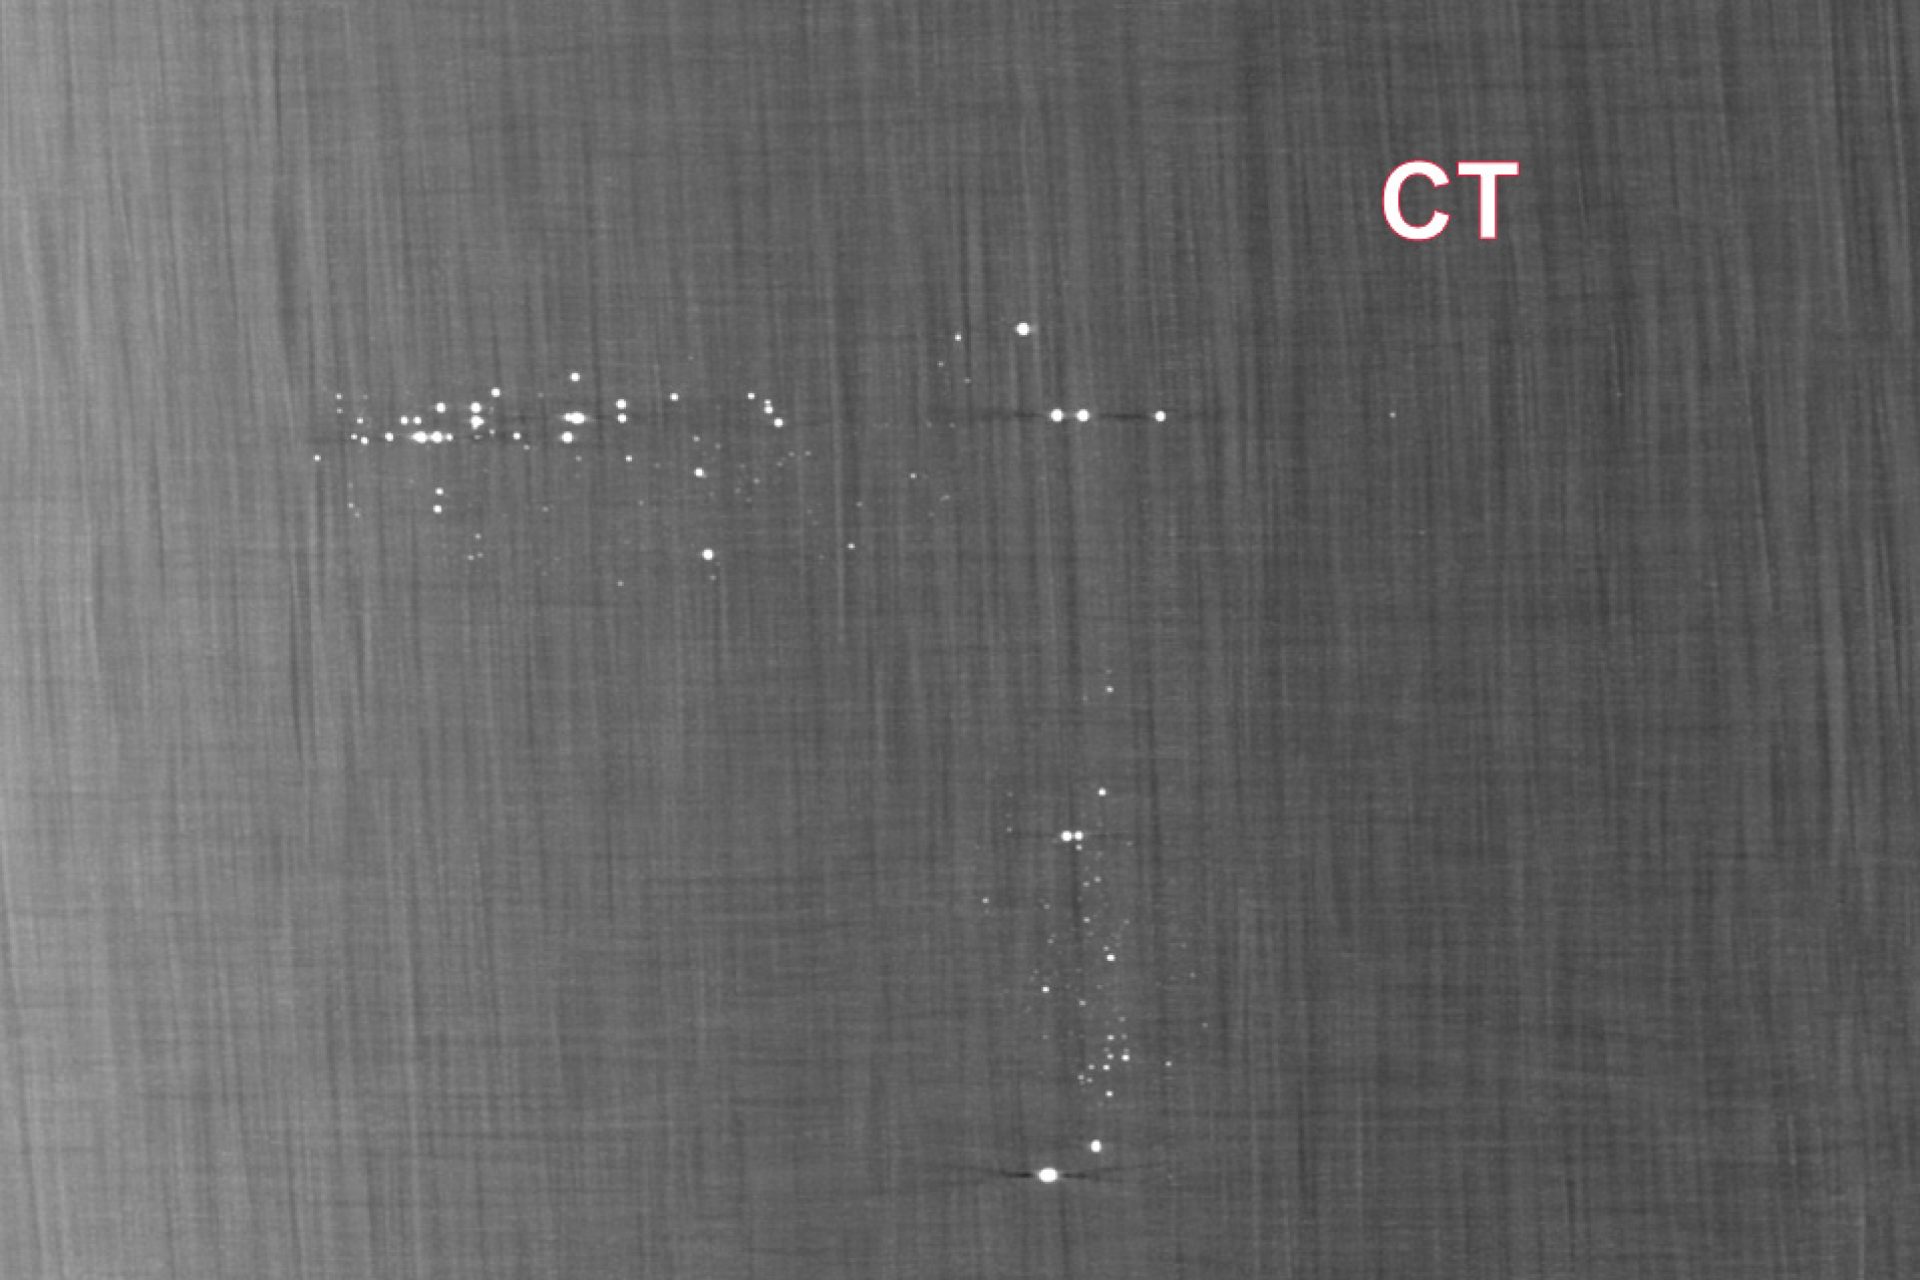
With a 5′ working diameter, we rely on our 450kv vault to evaluate very large, heavy, or complex products. This carbon fiber sheet is not heavy, but it is large and thin. The opposing .5″ thickness and 26″ path length is well suited for a Limited Angle scan to reduce beam hardening. However, our goal was not the highest resolution but the largest single volume. We are able to detect all of the inclusions, apply different filters for enhanced analysis (only show high density features), and measure the exact XYZ location or depth from surface.
Another purpose of cutting the sample was to mimic two different width boards. You’ll see the unequal contrast between the wider portion of the scan versus the thinner. The shorter path length reduces CT artifacts and leads to cleaner, more easily interpretable data.
