Re-Working Defects using CT & CMM
Re-working Defects using CT & CMM
We often hear that inspection is not “Value Added.” This is because the process costs money and causes delays, especially if parts do not meet specifications.
However, what if inspection can be “Value Saving“?
Some parts we inspect are safety and mission critical. These parts can take months and many thousands of dollars to produce. Inherent, latent defects mean that scrap rates are significant. We offer a way to accurately define the exact location of defects within a part. A quick re-work operation can save significantly on wasted material, cash, and production timelines.
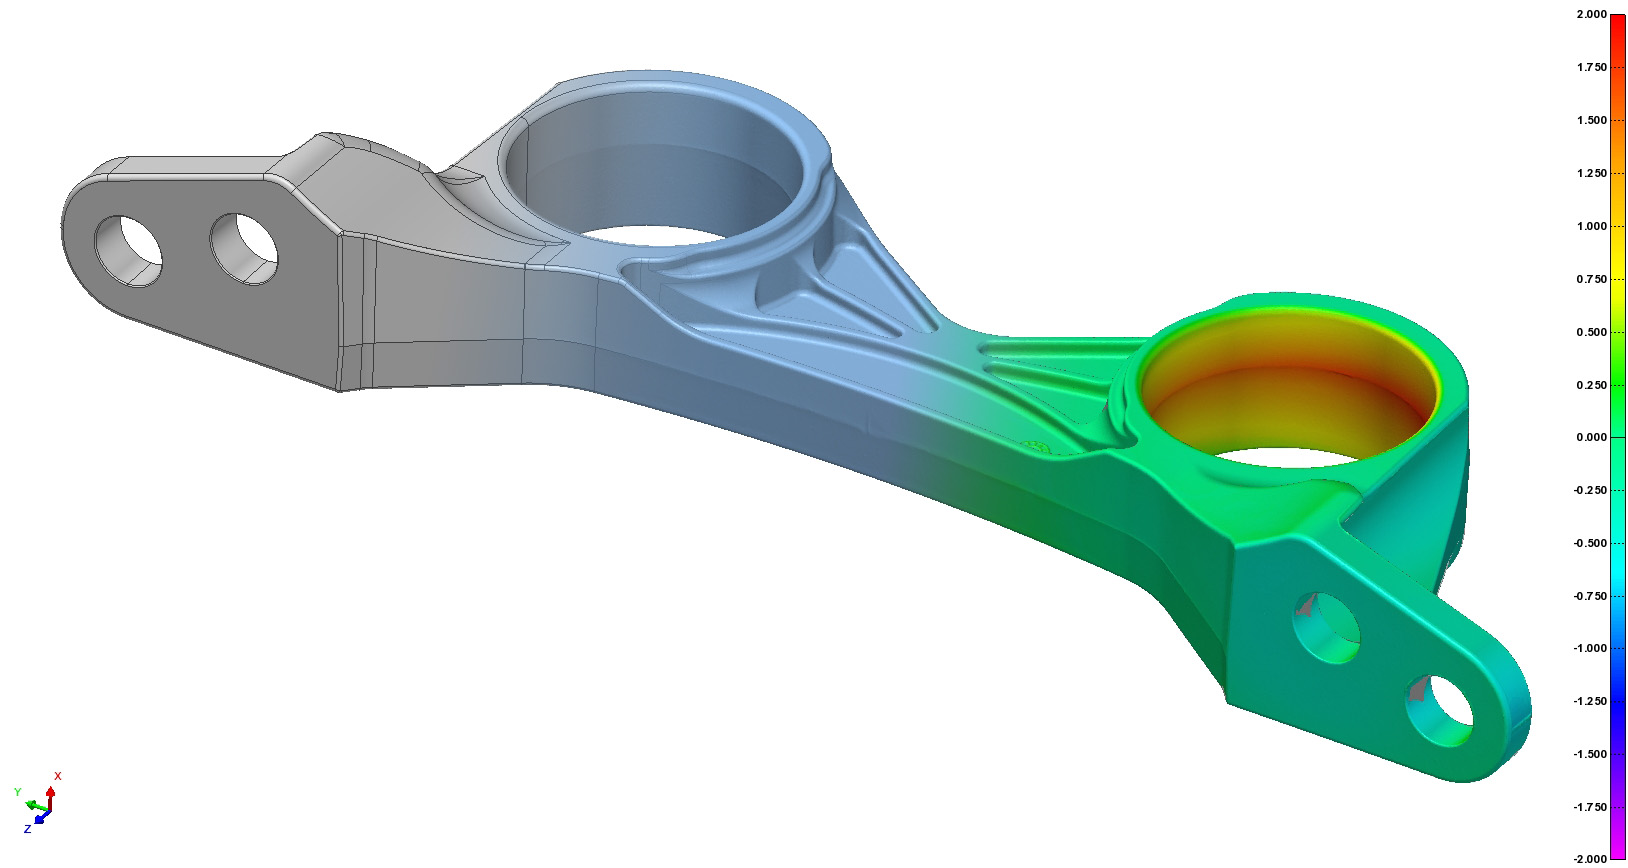
Latent defects include porosity, shrink, inclusions, non-conforming internal geometry, and more. With Industrial CT scanning we can locate all of these.
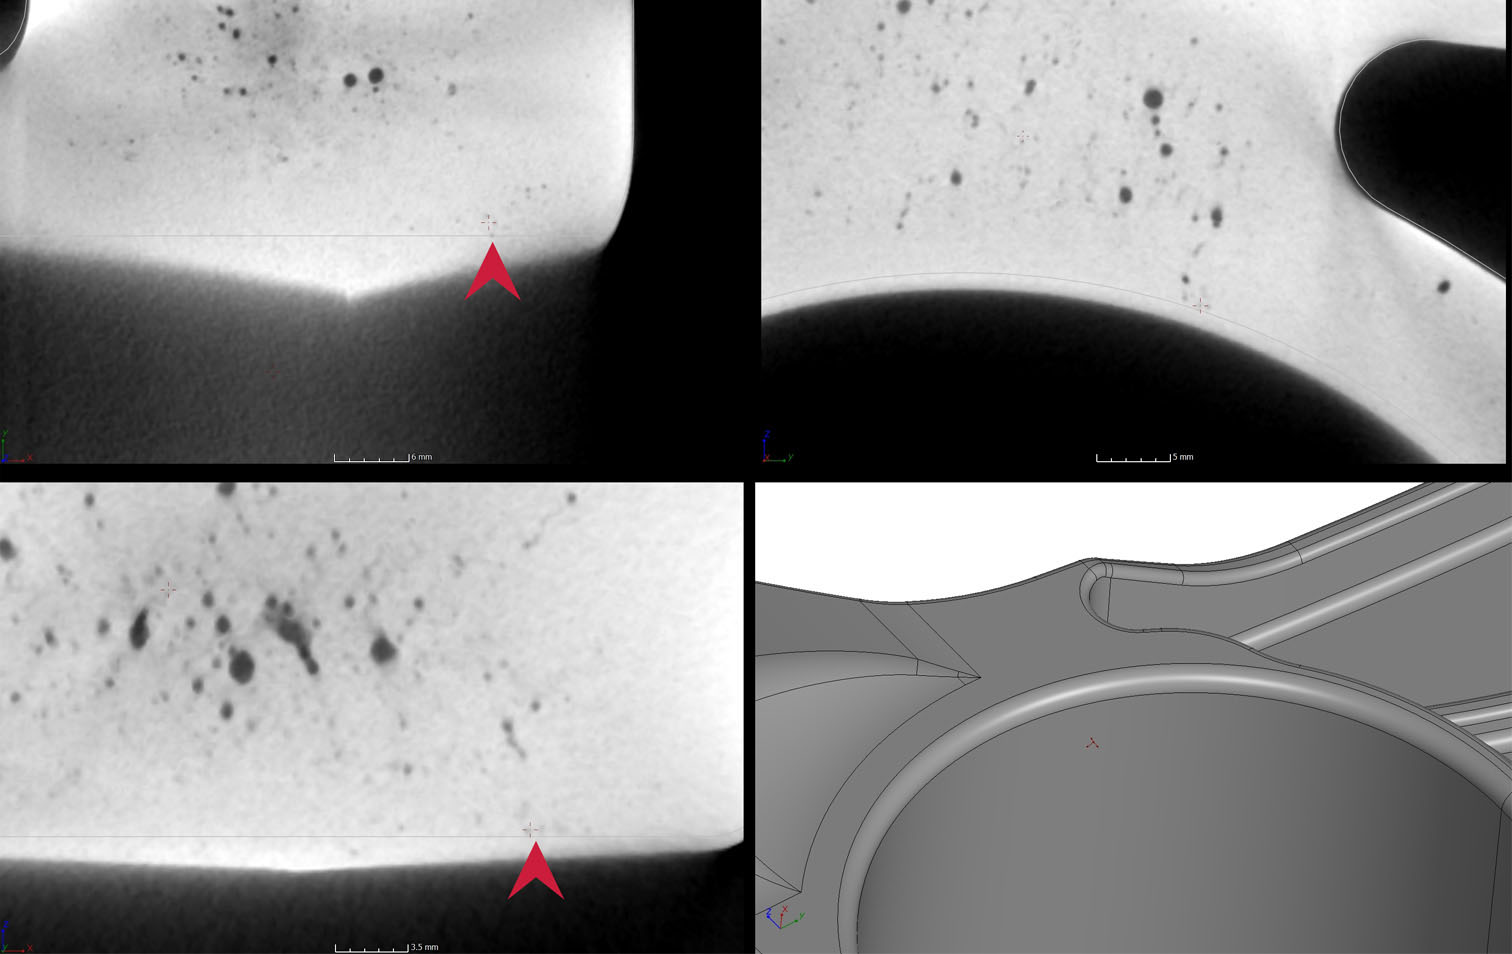
The CT volumes are aligned to CAD using several methods. Geometry best fits or feature based alignments are typical. Once the data is aligned to a coordinate system, defects can be located and assigned XYZ coordinate locations. These locations can then be exported for use in other softwares.
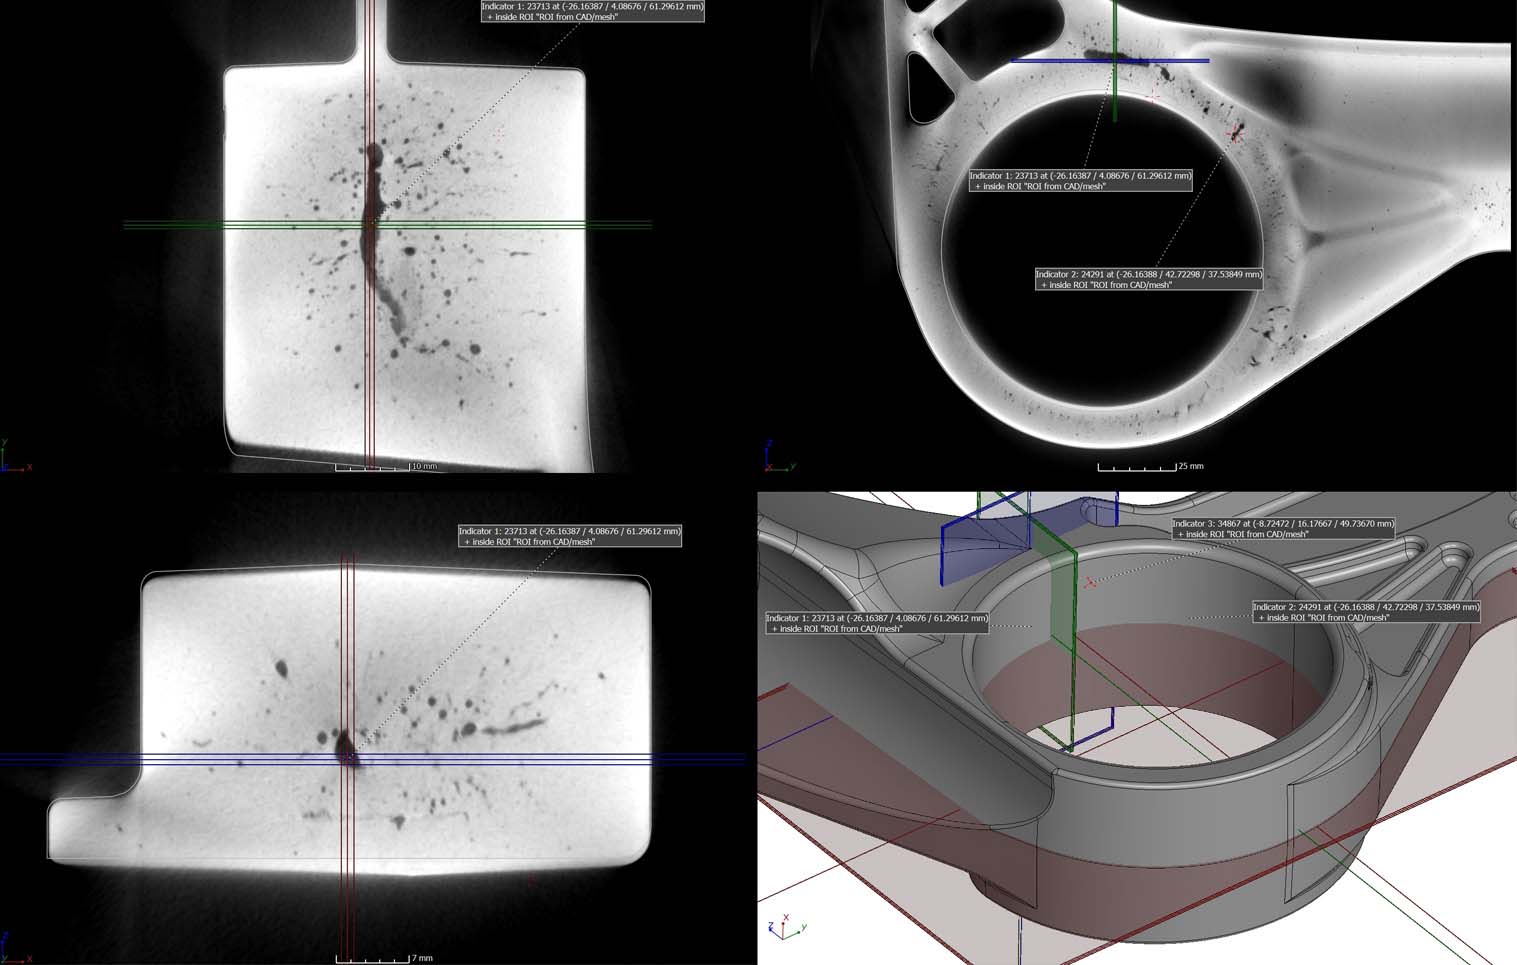
These defects are particularly important if they are in high-stress zones, or near machined surfaces. We can determine if these defects are in these zones, and even modify CAD for boundary acceptability tolerancing. For example, the manufacturer may find defects acceptable up to .5mm from a machined surface. We can offset CAD surfaces by .5mm for an objective indicator of rejectability.
This image shows small porosity clusters near the final machined diameter. If it is not machined and welded it will be present on the working surface of the part.
CMM Probing to Mark Defects Accurately
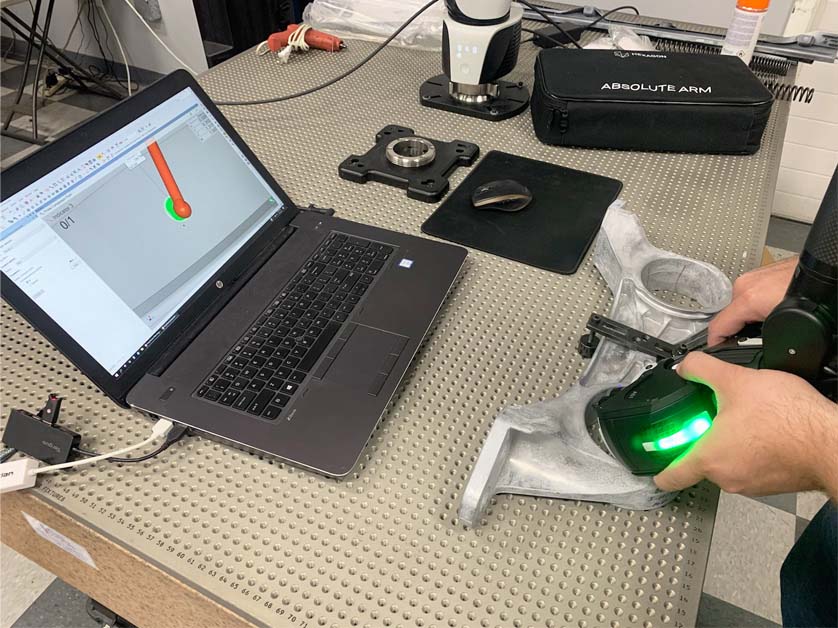
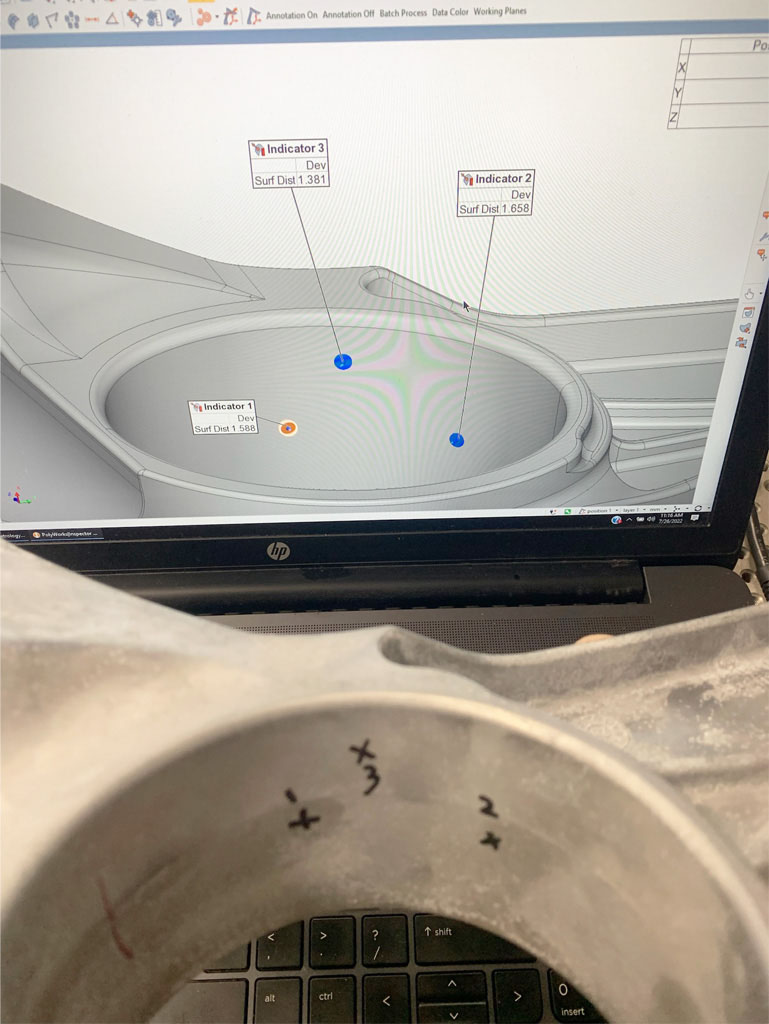
Once the defects are located and coordinate locations are assigned, we can import those coordinates into PolyWorks and then probe/ mark their locations onto the physical part using one of our portable CMMs. We then re-probe the marked locations to verify accuracy.
Re-work technicians will know exactly where to machine, and to what depth.
