MyVGL User Guide Tutorial
Guide to becoming a CT Analyst
We’ve now exported over 203,000 gigabytes (yes, 203 terabytes!) of data to customers for their own analysis using MyVGL. The steps for quickly becoming a CT analyst are short, and with MyVGL being free you’re just one project away from becoming an expert.
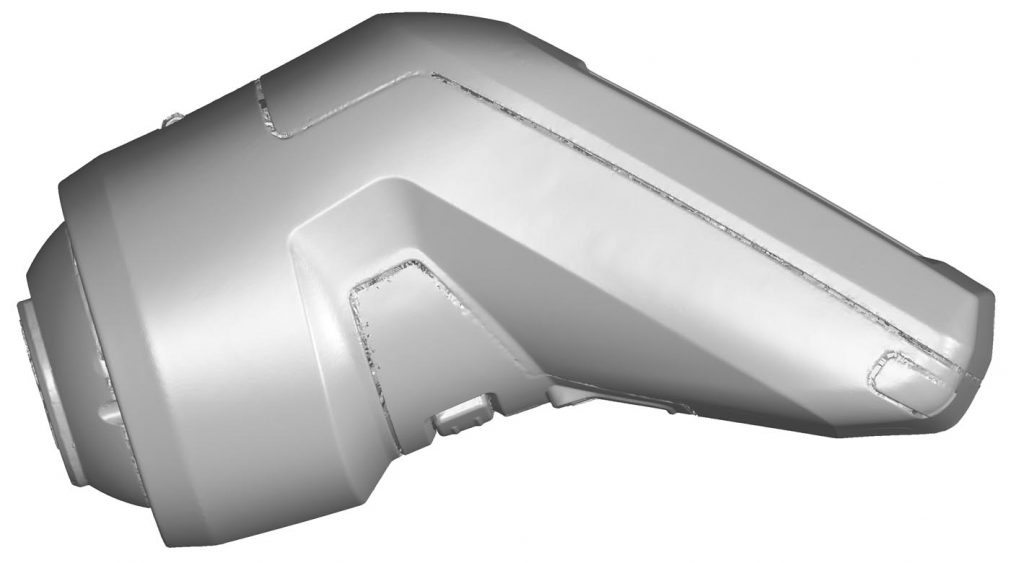
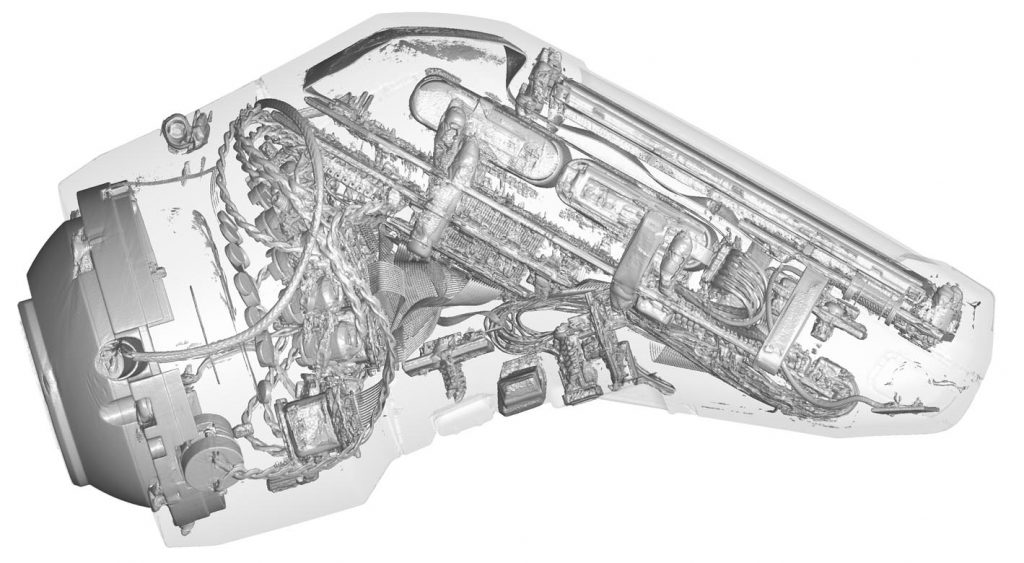
This guide’s example scan is a handheld electronic with many internal lenses and components with varying densities.
1. Download MyVGL

Open the Provided Dataset
- File – Open – Select Project File (typically a .vgl)

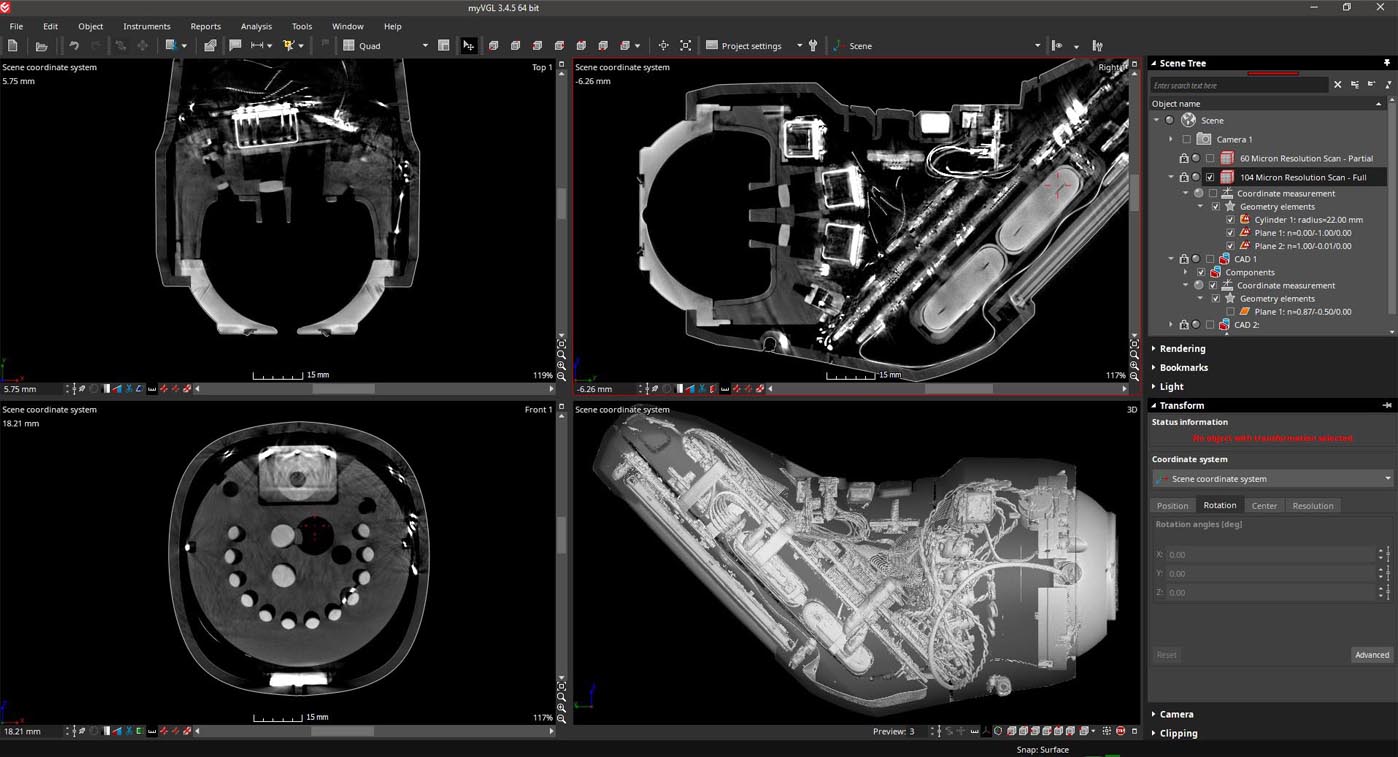
Initial Project View
Your initial project view may vary depending on the project parameters. You may have several panes or just one, and some tools activated or not. Each project will come pre-loaded with the project’s scans, measurements, and relevant views.
Activating Necessary Tools
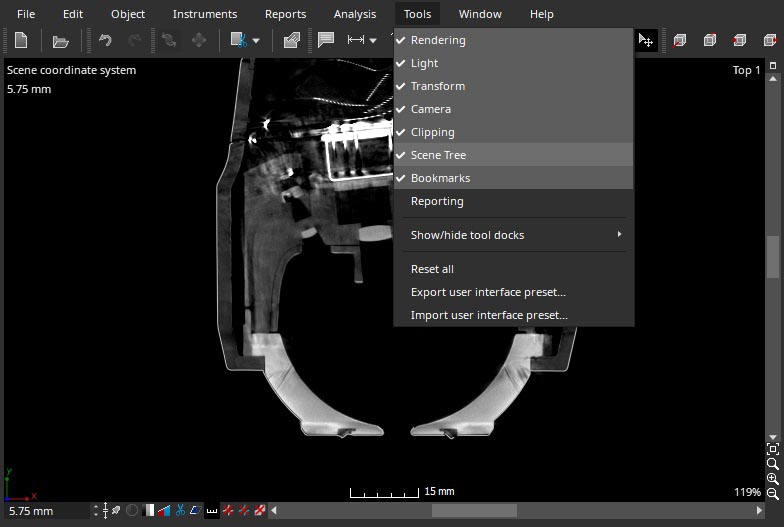
After opening the dataset your first step should be to activate all necessary analysis tools.
- Tools – Select Rendering, Light, Transform, Camera, Clipping, and Scene Tree
- The most critical of these tools are Rendering and Scene Tree
Rendering Controls
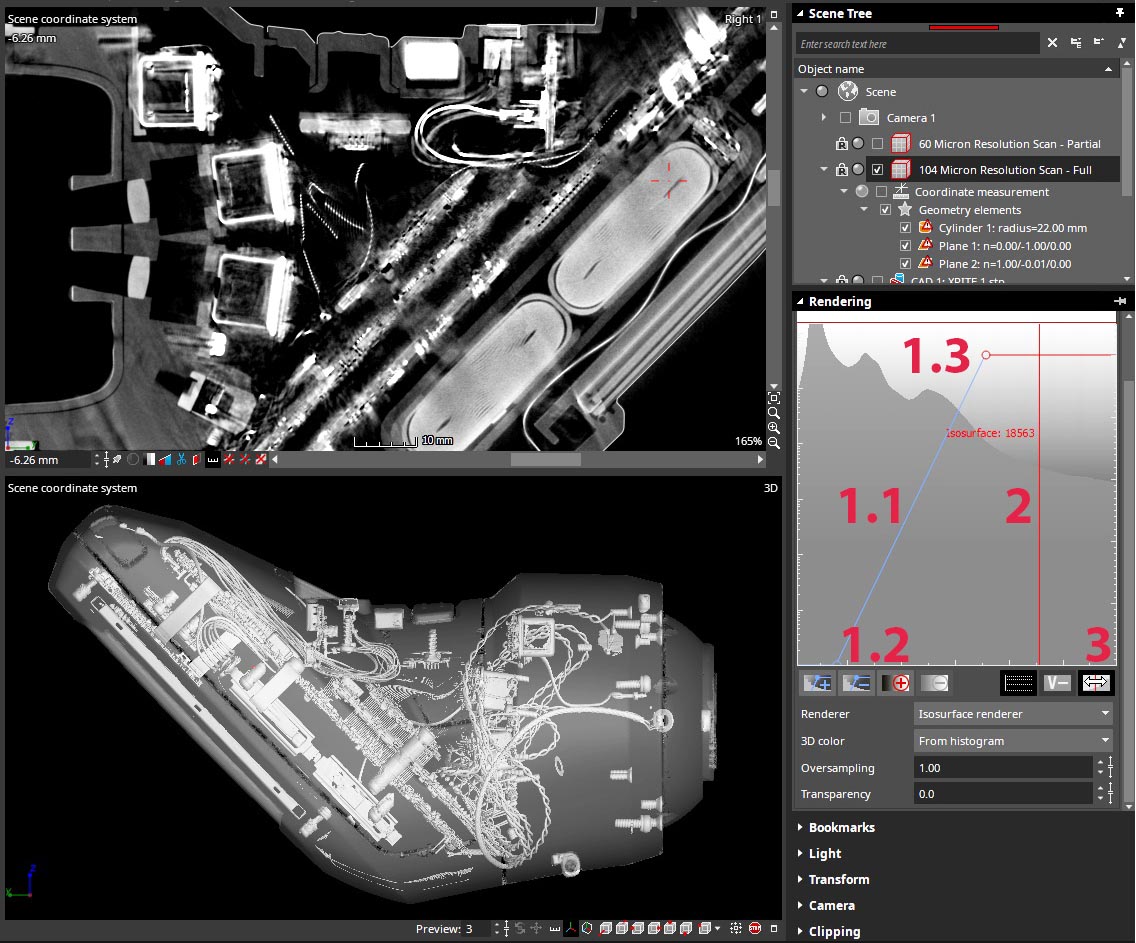
Several panes will have stacked with each tool on your screen. Navigate to this section and select Rendering.
- 1.1-1.3 are the controls for adjusting the visualization of 2D slice data. Handles can be added and moved independently or together to adjust contrast of the data.
- This bar adjusts the rendered gray values. Gray values are associated with sample material density. The further you move the red bar to the right, lower density material will fade.
- This button allows you to adjust the rendered gray values separate from the preset “determined surface.”
Bookmarks
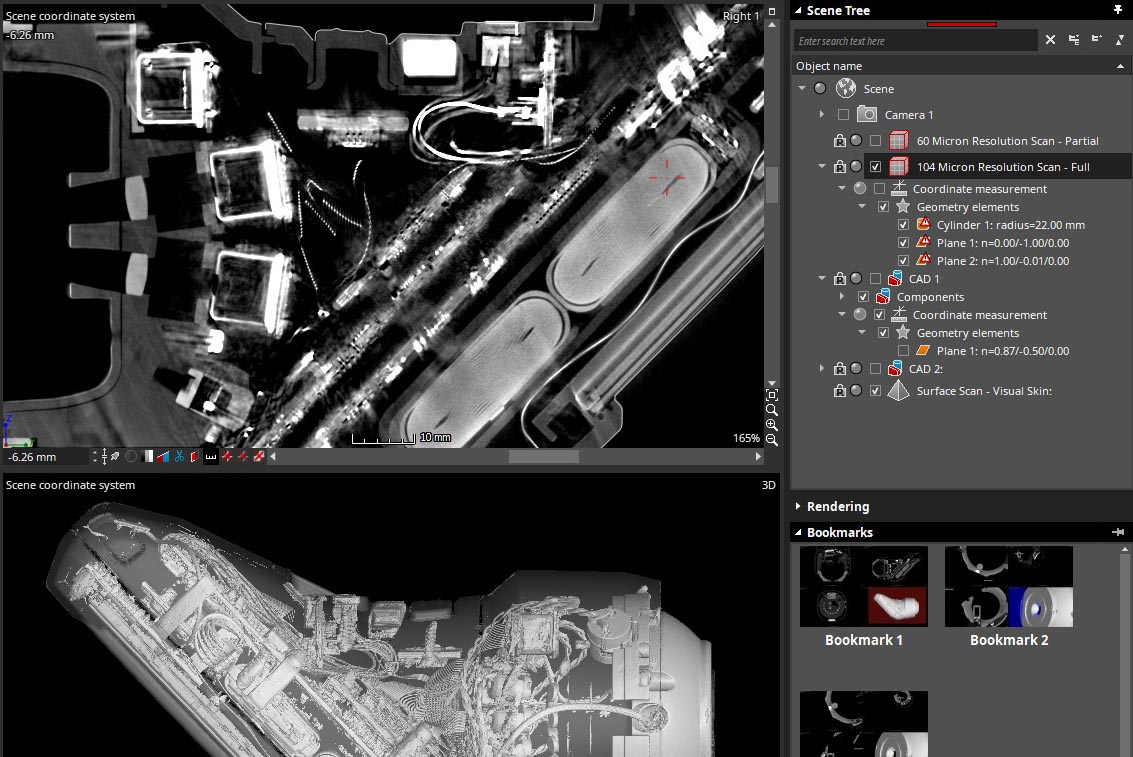
Bookmarks allow the user to quickly return to important views. Haven Metrology typically exports VGL files to customers with several saved bookmarks so you can quickly return to areas of interest.
Measurement Tools
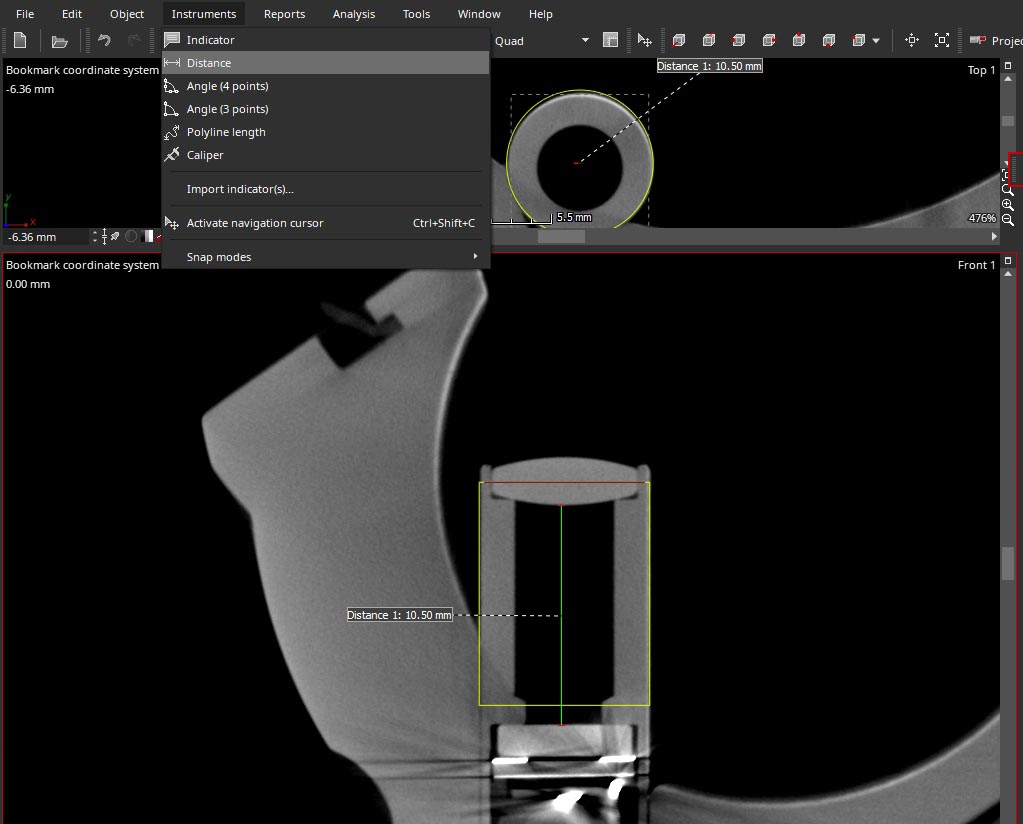
MyVGL offers several tools for referential measurement. Extracted and constructed features are only available in the full version of Volume Graphics, but can be created by us and would be present in the Scene Tree.

Saving Images and Videos
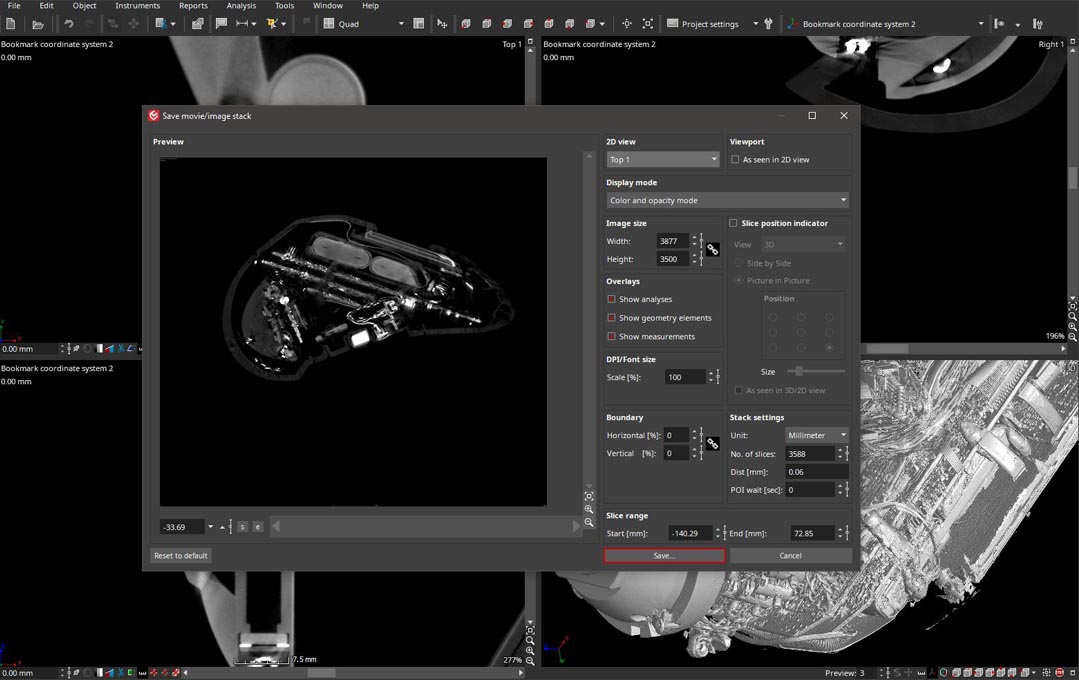
Images and videos can be saved from the project.
- File – Save Image/ Save Movie
- Adjust parameters and settings
- Save
