Microplastic Inspection – Part 3 – Defect Analysis
Defects of Microplastics, Part 3
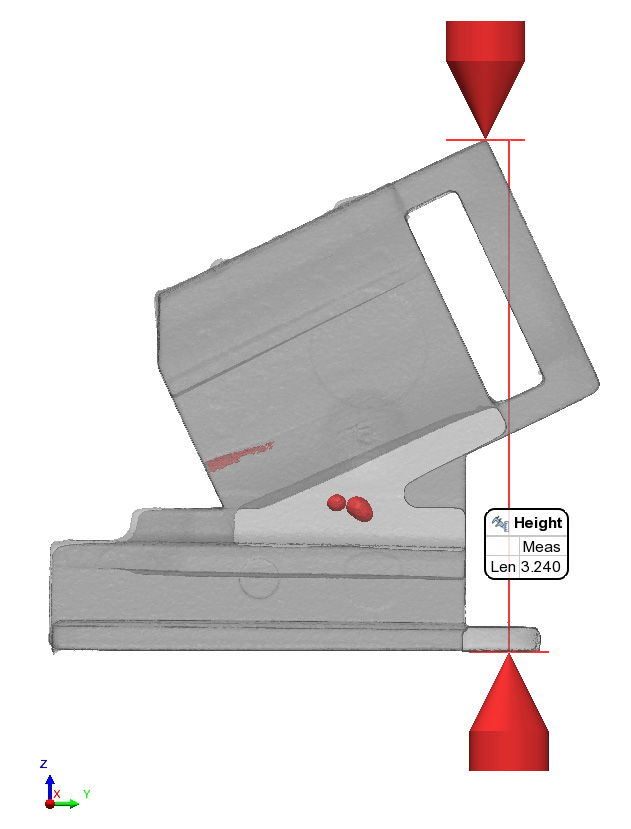
Like any other product, microplastics are prone to the same defects – porosity, inclusions, cracks, parting line mismatch, and out of spec dimensions. Industrial CT scanning helps process all of these, from non-destructive imaging to water tight mesh file export. Part three showcases two small parts – a small optical housing and rubber friction axle.

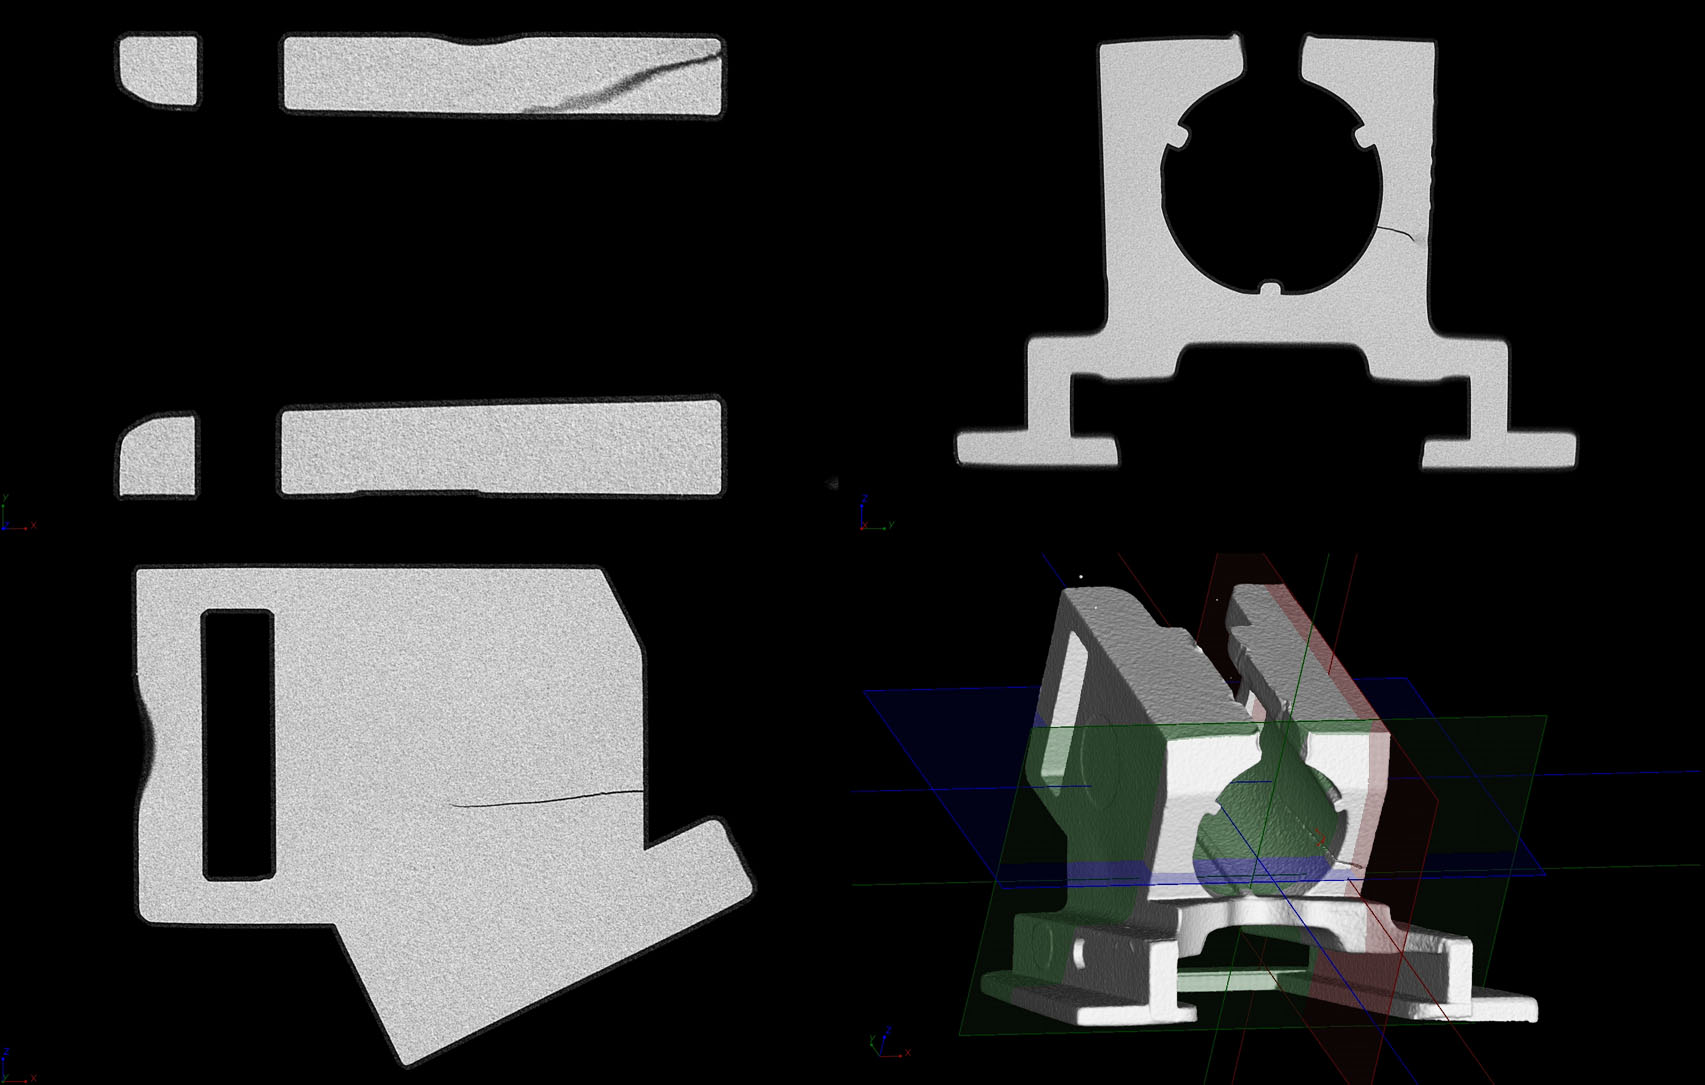
CT Slice Data for Cause of Failure
Many requests for failure analysis seek to understand origin, severity, or material parameters. Maybe there is a large cluster of porosity or shrink that caused the crack, or a lack of sealant that caused a leak. Maybe it was an undersized wall thickness, or simply wear & tear or physical force.

Multi-Material Analysis
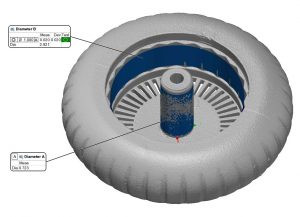
This mouse wheel has very high quality standards. Because of the features of the mouse – smooth or notched scrolling, and multi-directional clicking – tolerances for the entire assembly are tight. If the perpendicularity of the axle is off, the will be unbalanced. If the rubber has a bad profile, it could impact the housing. If the parting line is too high the smooth scroll feature may not function properly.
Dimensional Inspection & Defect Analysis
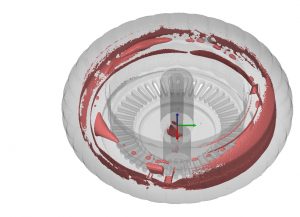
This mouse wheel is the largest part shown in the series, but also has some of the smallest features. Geometric dimensioning and tolerancing can be applied; controls like angle of notch, perpendicularity, and wheel profile are all considered. Gaps between materials can be quantified and analyzed to understand where defects may occur, or how to adjust manufacturing parameters.


