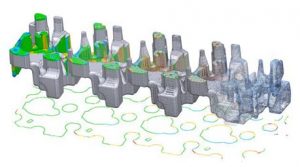
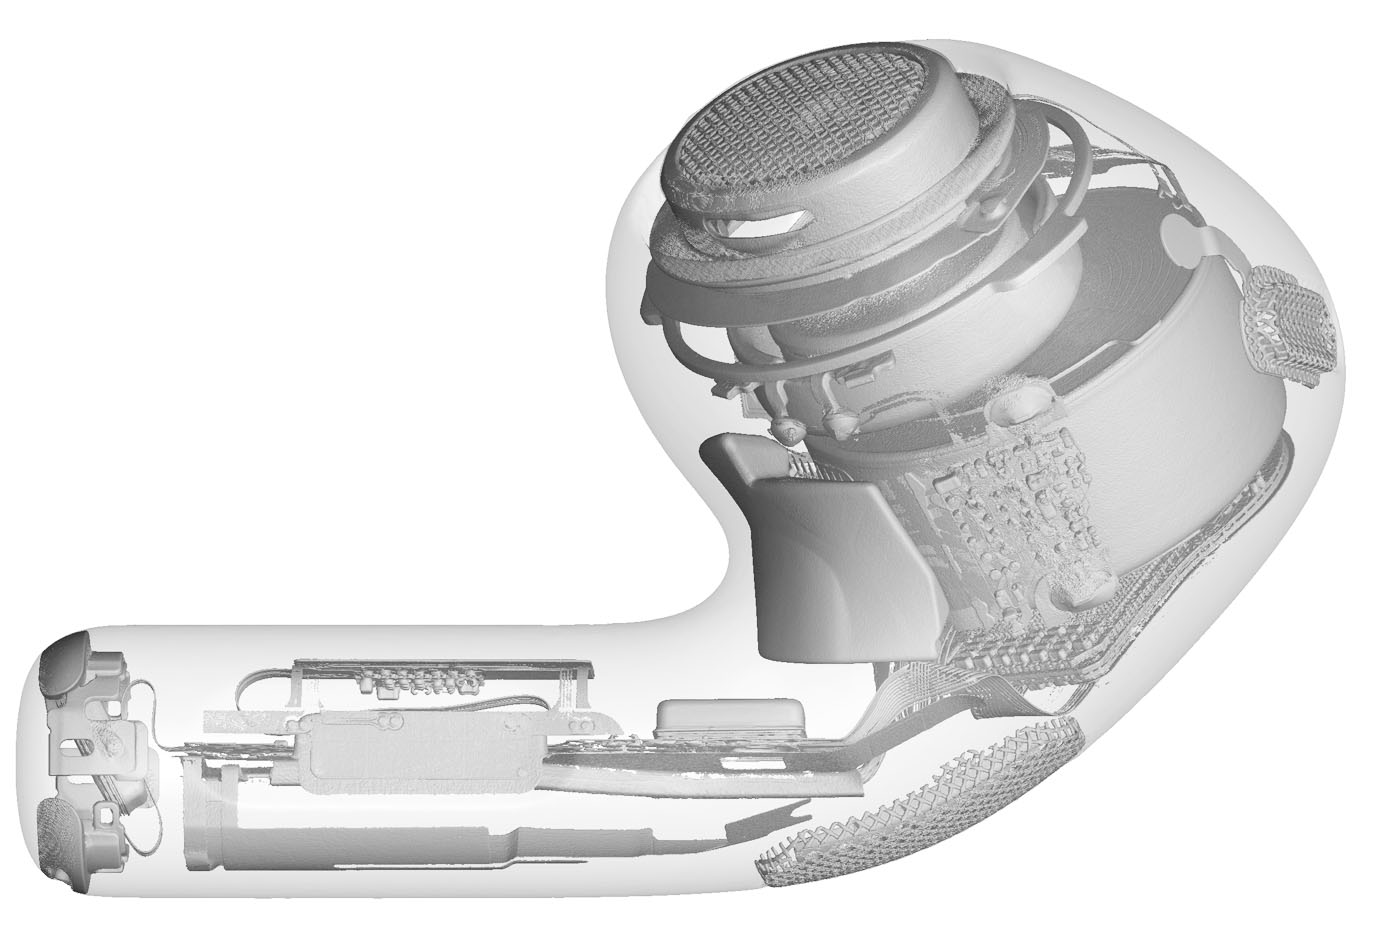
Microfocus X-Ray & CT offers non-destructive insight into the inside of any type of product. Our work is everywhere – from the most popular consumer products, multiple national laboratories, aero & space primes, automotive, & defense R&D.
Haven Metrology’s customized 225kv cabinet offers unrivaled capabilities. Boasting 1 to 122um resolution while scanning up to 4x faster than our competitors, no product is too simple or complex for us to handle.
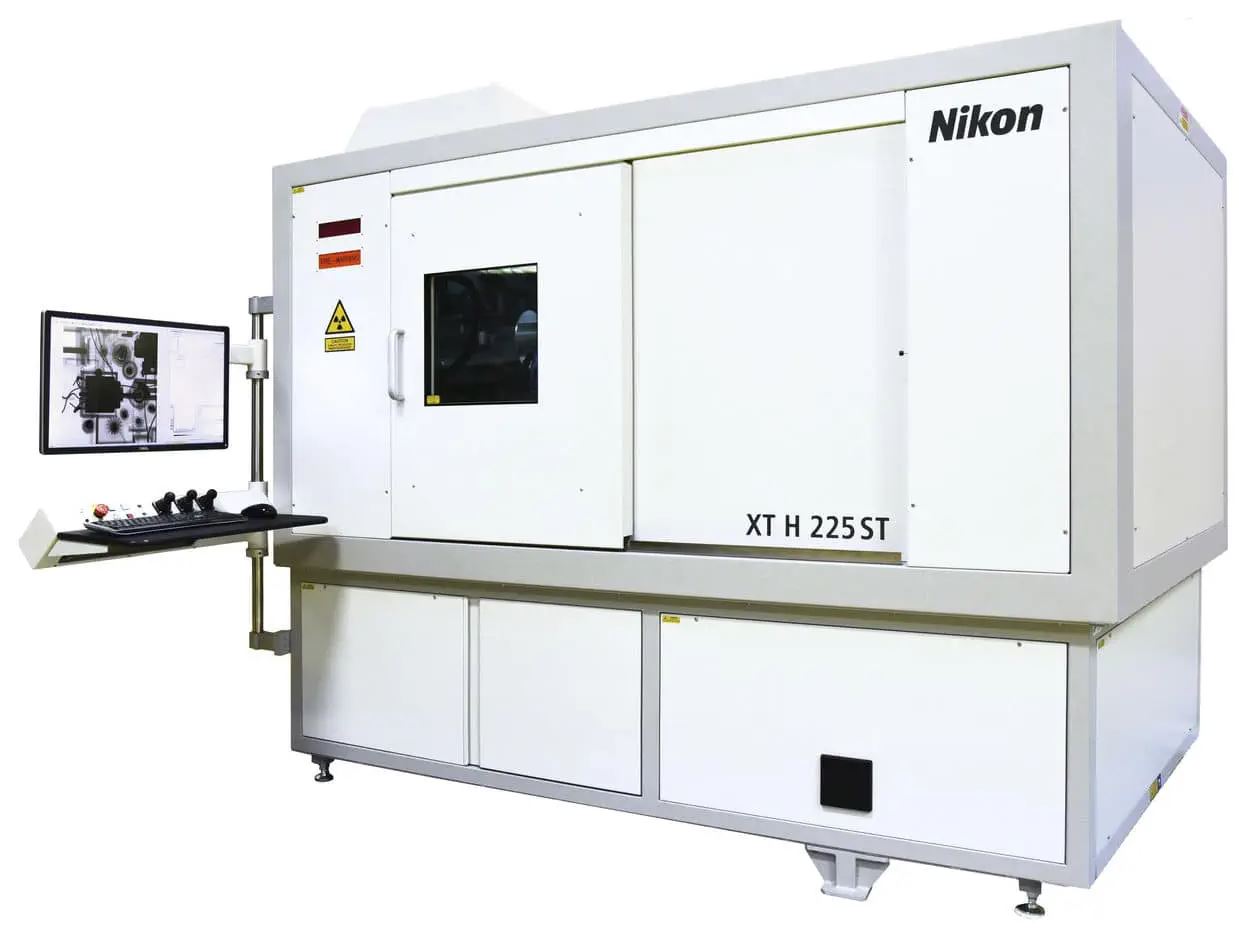
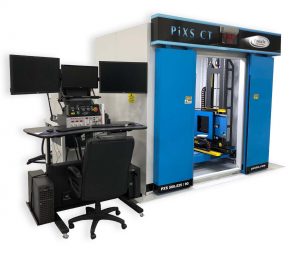
450kv, 50 – 450um RESOLUTION
We have participated in many sorts – from EV batteries for torn LI-ION cells, large batch casting grade & sort to a variety of standards, and electronics for assembly failures. With flexible hours and a large roster of certified technicians, we offer 24/7 production to maintain strong lead times.
With a significant library of written standards, physical gauging, and digital reference images, we are ready to respond to all types product and requirements.
Visual solutions like videos and images allow our clients to see the progression of cracks and porosity throughout a part. This helps complete a picture that a single image cannot provide.
High resolution digital radiography allows us to perform several types of analysis to detect many failures. With system resolution between 1 and 125 microns, we can detect nearly any defect.
Our clients have long been frustrated by the inability to measure internal geometry without modifying the part. Using advanced techniques we are able to measure parts that are larger than our system’s measurement volume. Water tight, “perfect” profile data of otherwise inaccessible data is possible.
Low density fixturing uses materials that don’t interfere with X-Ray & CT. This allows us to measure restrained features that more traditional measurement devices, like tactile probes and surface scanners, are unable to reach.
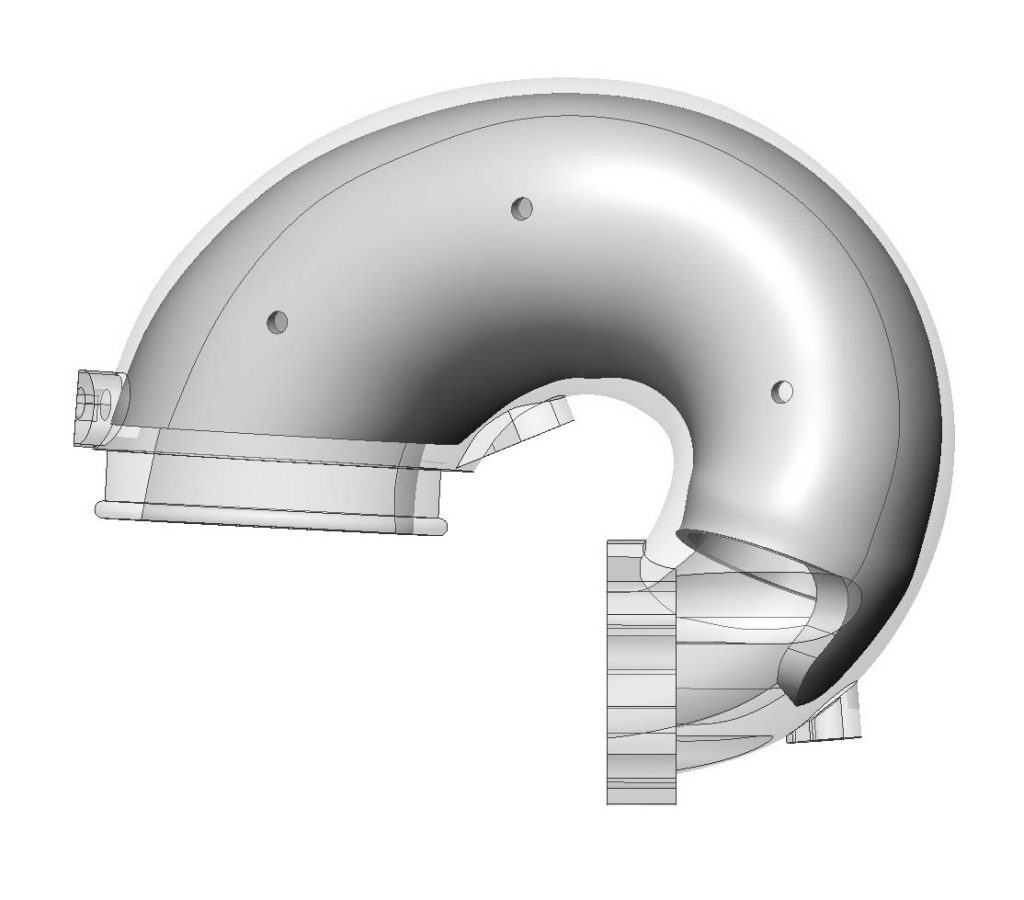
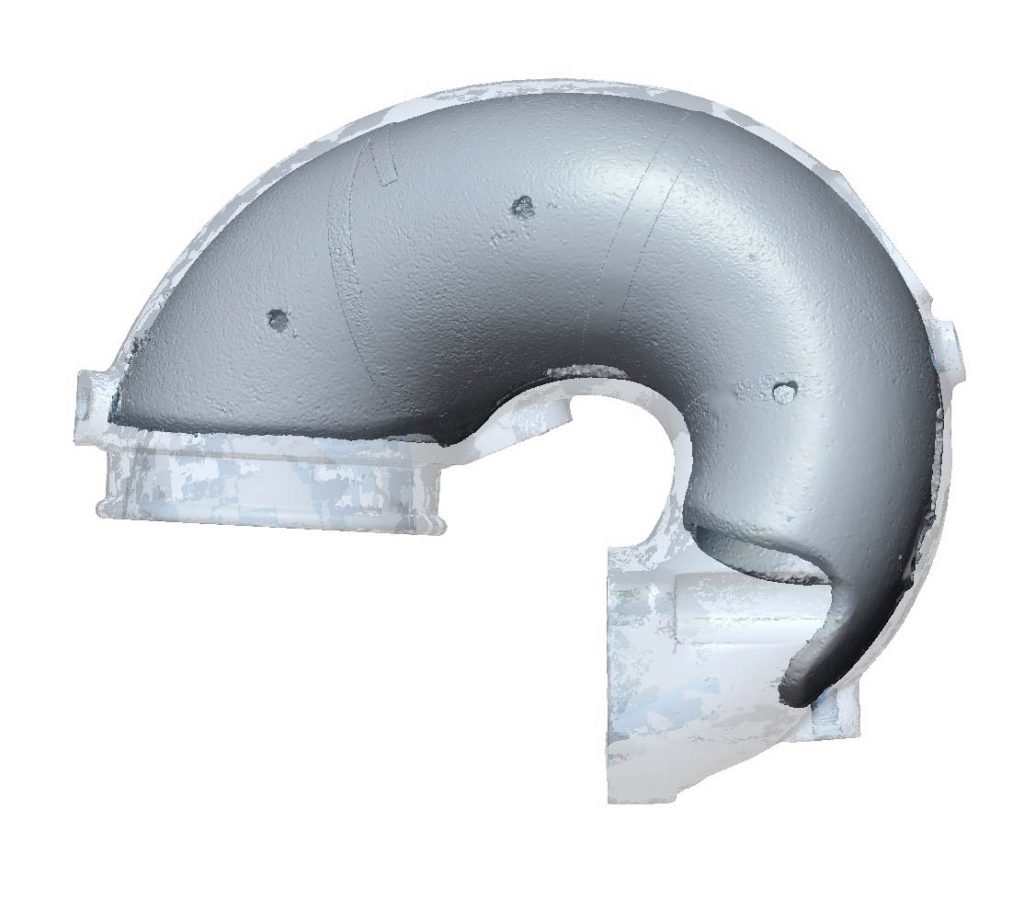
Digitizing internal, inaccessible geometries can be a necessity for complex reverse engineering projects. The example below shows the inaccessible cooling jacket inside a casting we modeled.
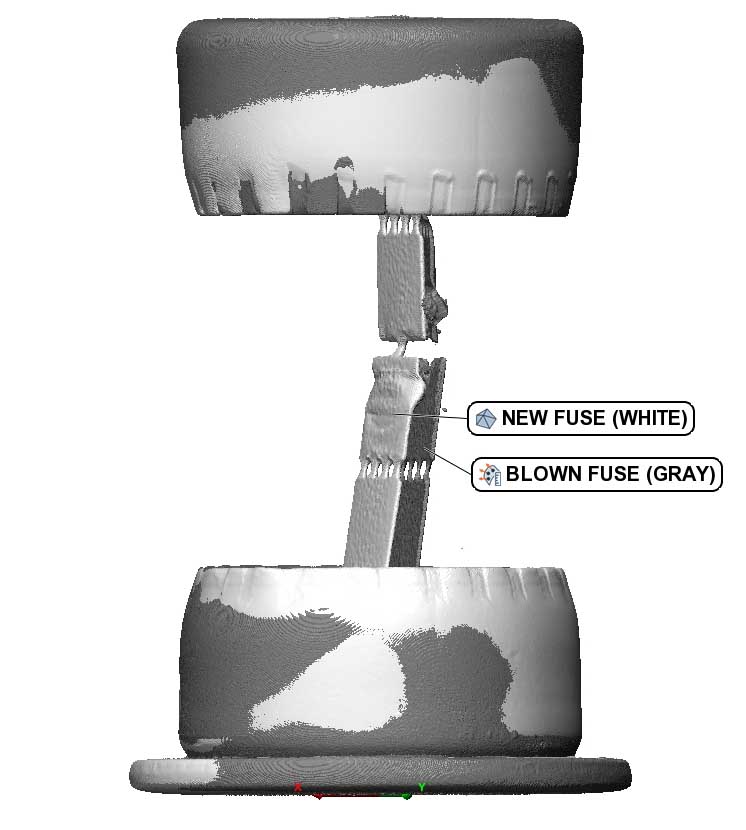
Part to part comparisons, like these fuses, are useful for understanding how they are changing over time, or understanding where a part is failing.
Using radiography we can quickly explore internal features to determine the cause of faults. Depending on proximity we can see the smallest of wires.
COMBINING THE POWER OF
THE BEST 3D INSPECTION SOFTWARES
VOLUME
GRAPHICS MAX
Volume Graphics Max is the leading analysis and visualization software for industrial CT data, providing capabilities related to metrology, defect detection and assessment, material properties, and simulations.
POLYWORKS METROLOGY SUITE
PolyWorks MS is the industry-standard 3D metrology toolbox for 3D alignments, real-time measuring with multiple GD&T standards, experimental interrogations, reverse-engineering, and comprehensive data reporting.
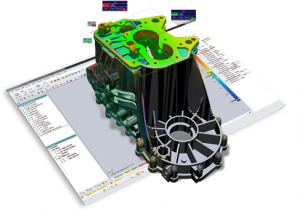
GEOMAGIC DESIGN X
Geomagic Design X, the industry’s most comprehensive reverse engineering software, combines history-based CAD with 3D scan data processing so you can create feature-based, editable solid models compatible with your CAD software.
