Industrial CT Scanning for Small Castings
Industrial CT Scanning for Small Castings
Industrial Computed Tomography is used for a variety of inspection services. It can be particularly useful for small objects where traditional surface scanners may not meet resolution requirements.
This post demonstrates several capabilities and formats we use for reporting information to our clients.
10 Micron Resolution
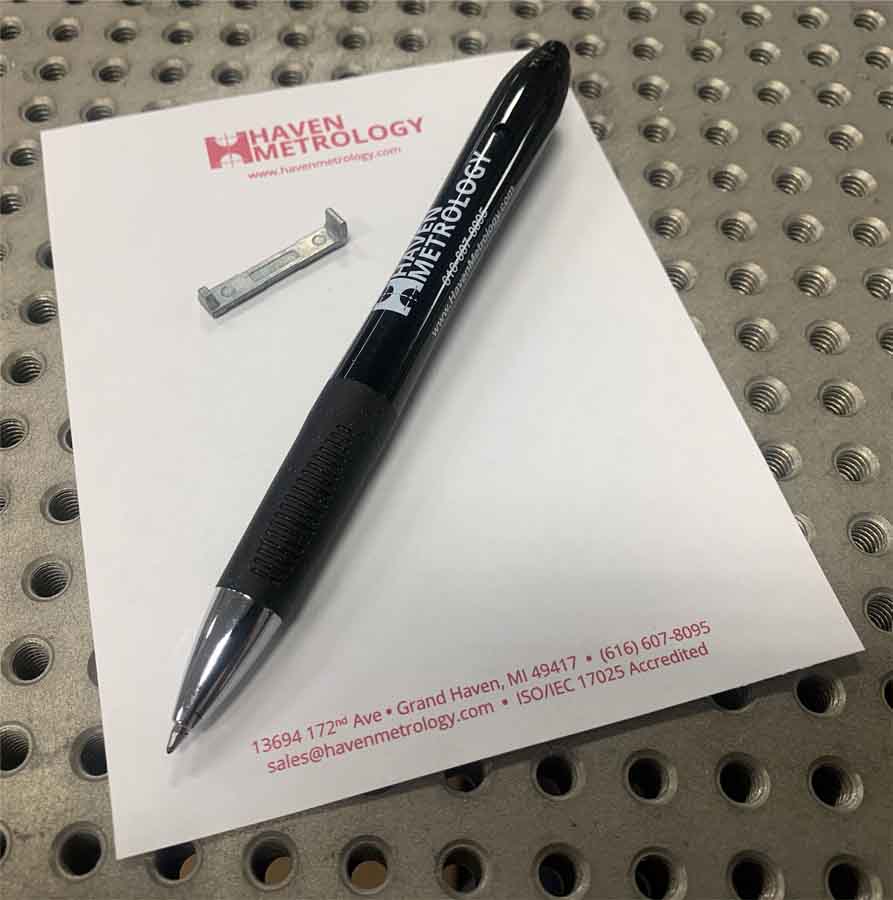
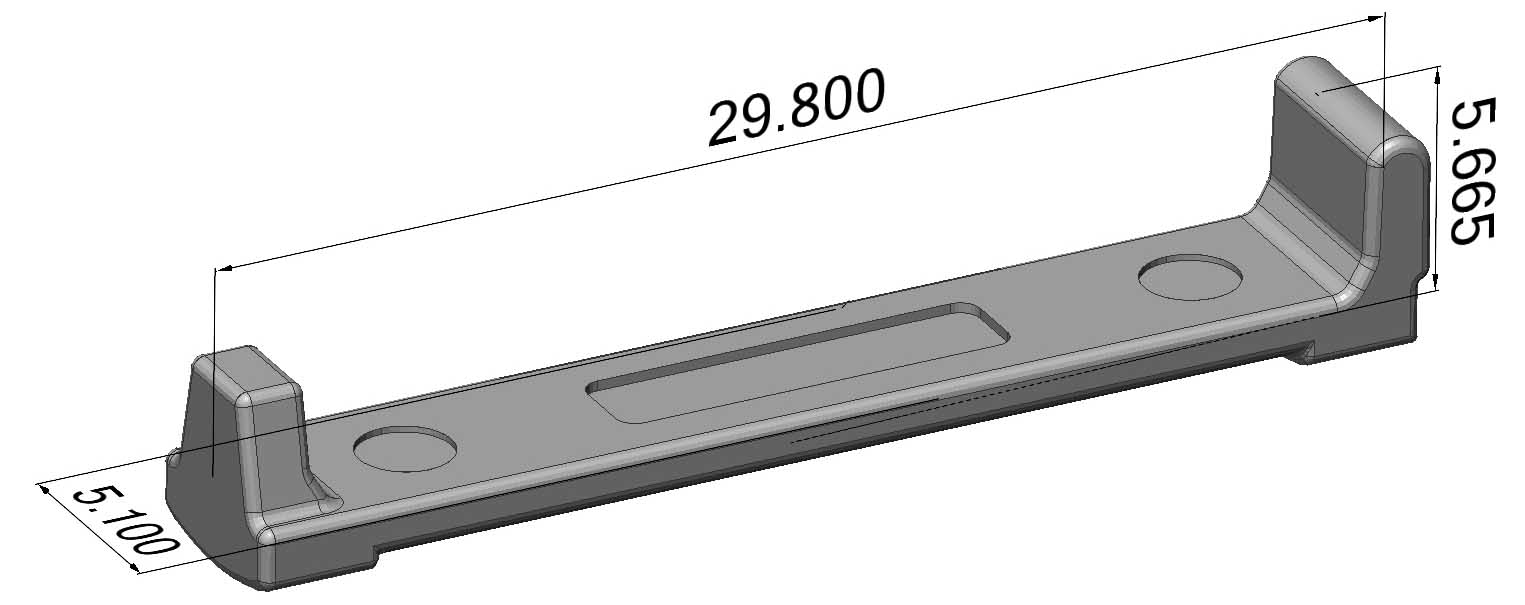
This is a very small casting. Measuring at under 30mm in length, and 5mm width and tall, it is the perfect candidate for micro-ct inspection. Each scan was completed with a 10.26 micron resolution. With resolution being dependent upon proximity to the x-ray source, we could have cut this resolution down significantly by scanning and splicing multiple data sets for each sample. This was not necessary for the project.
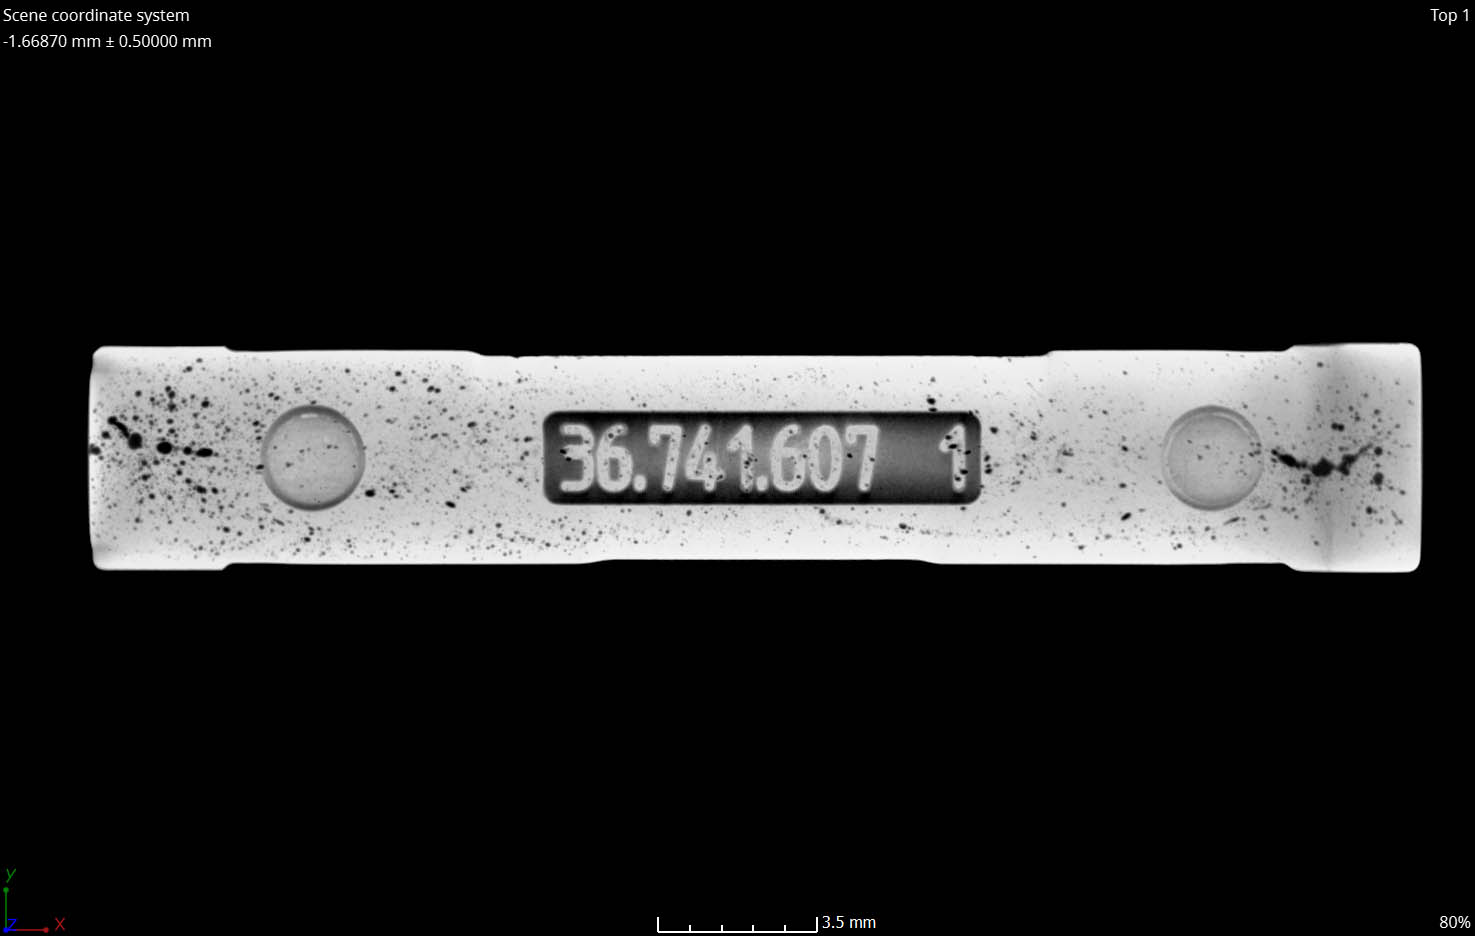
CT Slice Data of Porosity
Using rendering techniques we can provide a top down view of all porosity in a single “slice” image. This image shows all pores in 2D.
Volumetric Mapping of Porosity
Volumetric mapping of pores can be useful if client standards require pass/fail analysis. Any pores above a certain size can be displayed. We have many clients who actively adjust casting processes according to porosity data.
Virtual Renderings of Porosity
Virtual Rendering of porosity is user friendly and practical. It allows end-users to explore and understand volume and location of all pores inside a given part. Pores can be exported with color map displays.
CT Data for Dimensional Analysis
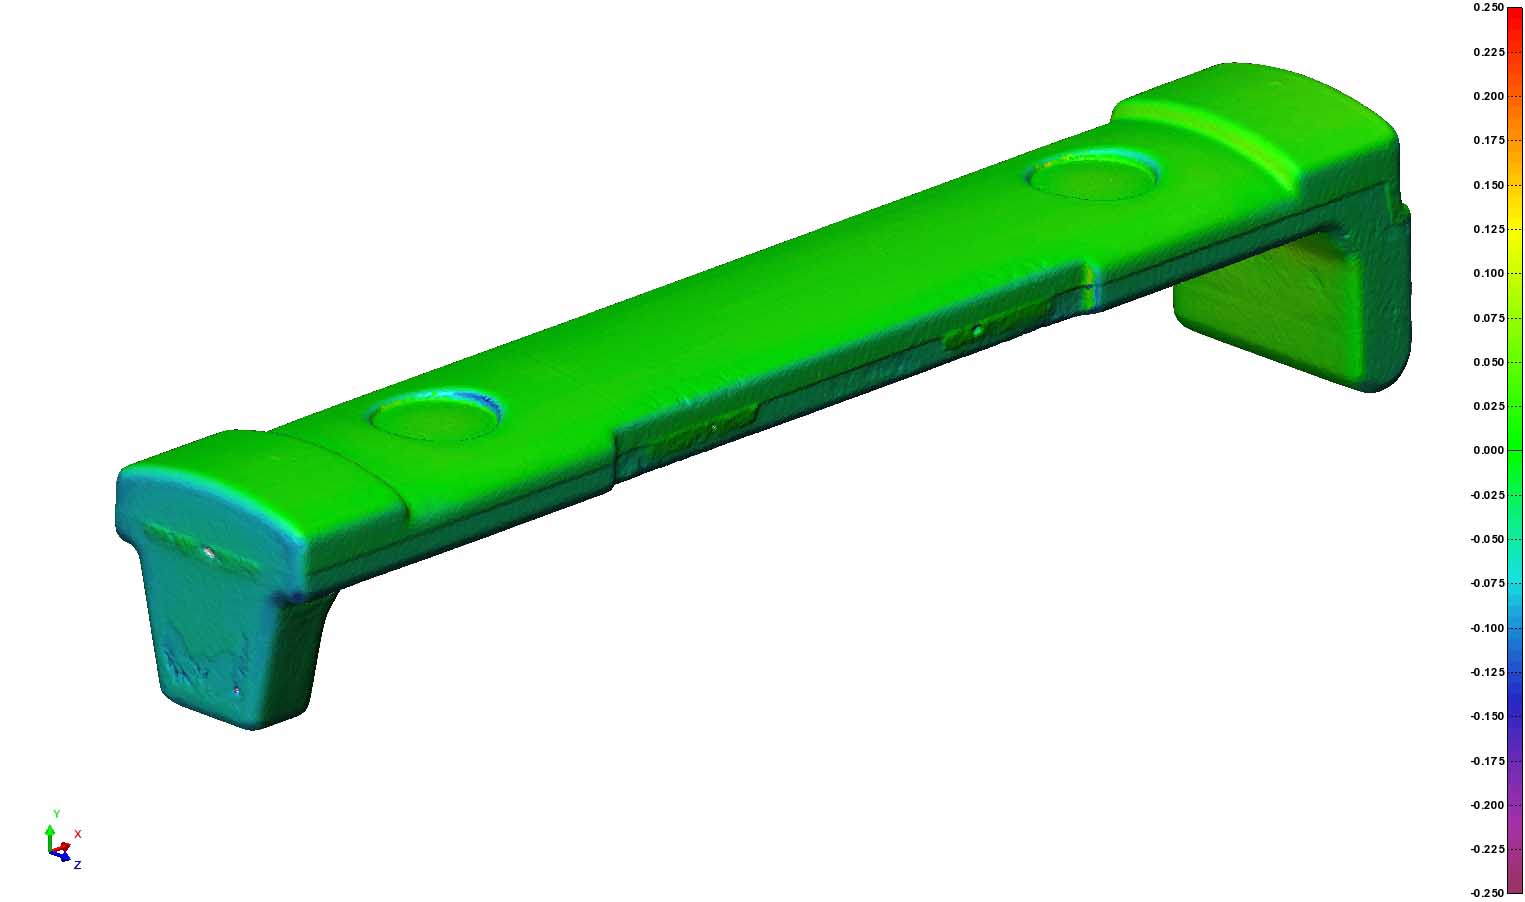
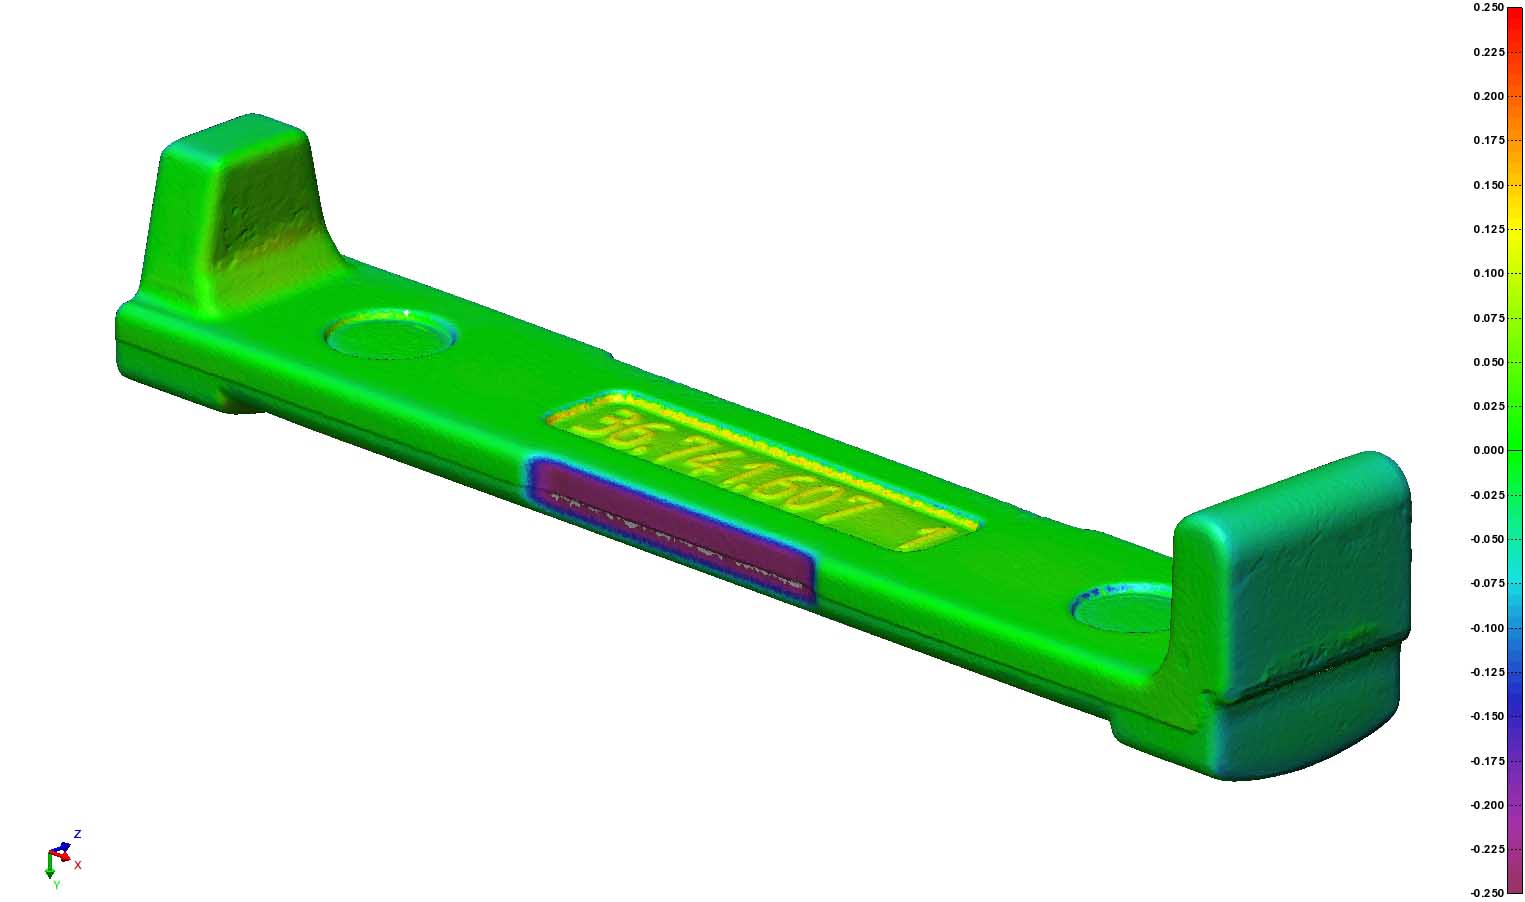
CT data can be converted and exported in standard mesh files of .ply and .stl for dimensional analysis, CAD comparisons, and reverse engineering. Below is a standard “heat map” profile overlay to CAD.


