Microplastic Inspection – Part 1 – Scan to CAD
Inspection of Microplastics, Part 1
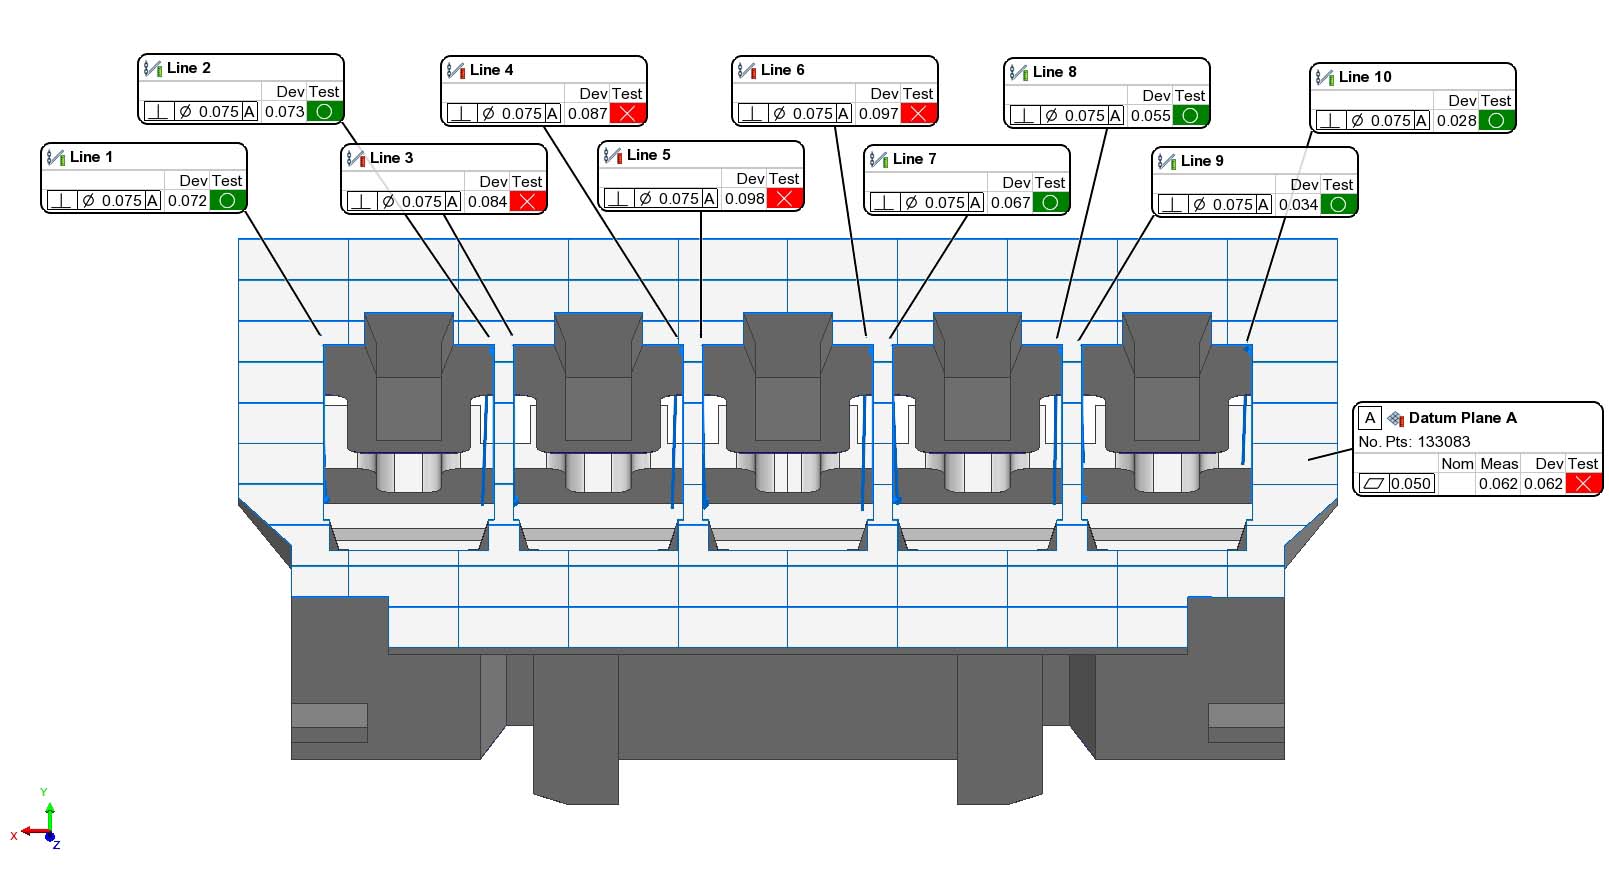
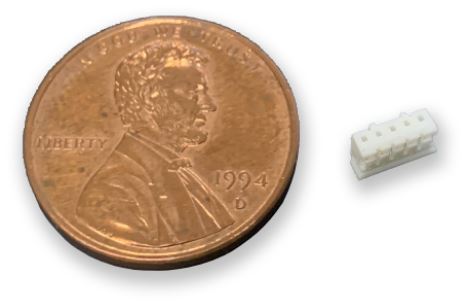
Many devices are used to inspect microplastics. However, for complex parts Industrial CT Scanning is the only device that can accurately measure all features using single set-up. Vision systems may not achieve appropriate perspective, features can be too small for CMM probes to accurately touch, and laser scanner opposing focal spots limit depth of acquisition. This post highlights a connector just 5mm wide.
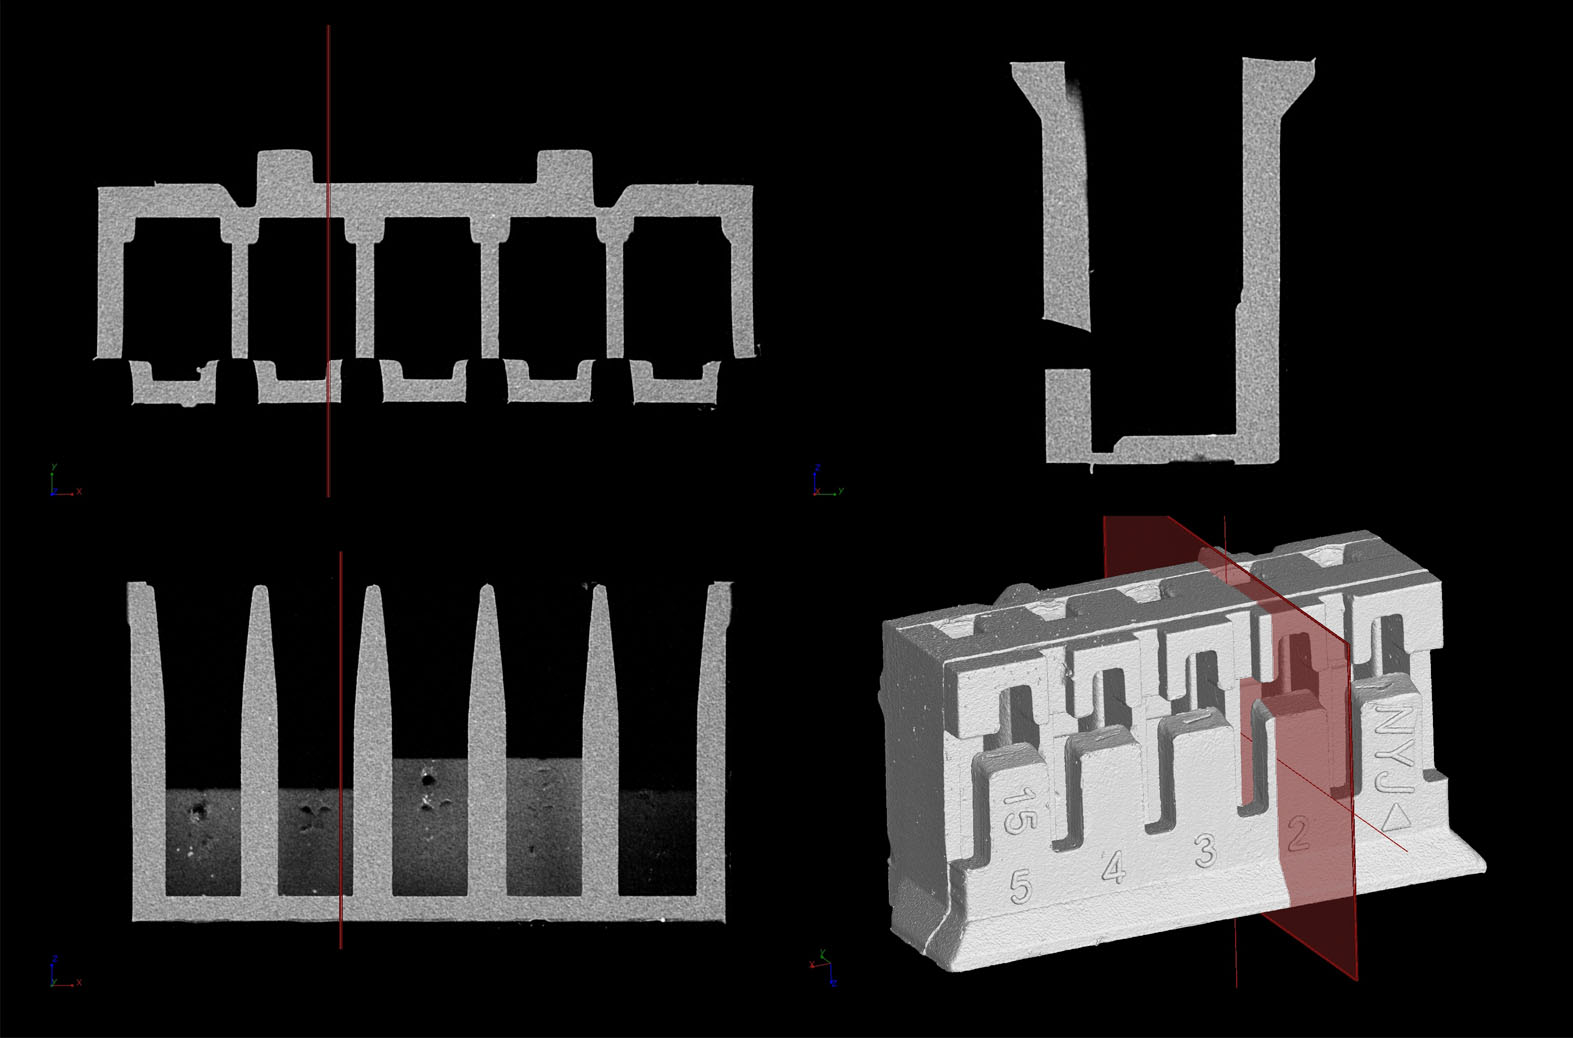
Industrial CT Scanning allows for the capture of water tight .stl meshes for part to CAD comparison and internal analysis of voids, cracks, and mold flow. This mesh can also be used for reverse engineering, fitment analysis, and FEA.
Scan to CAD Analysis
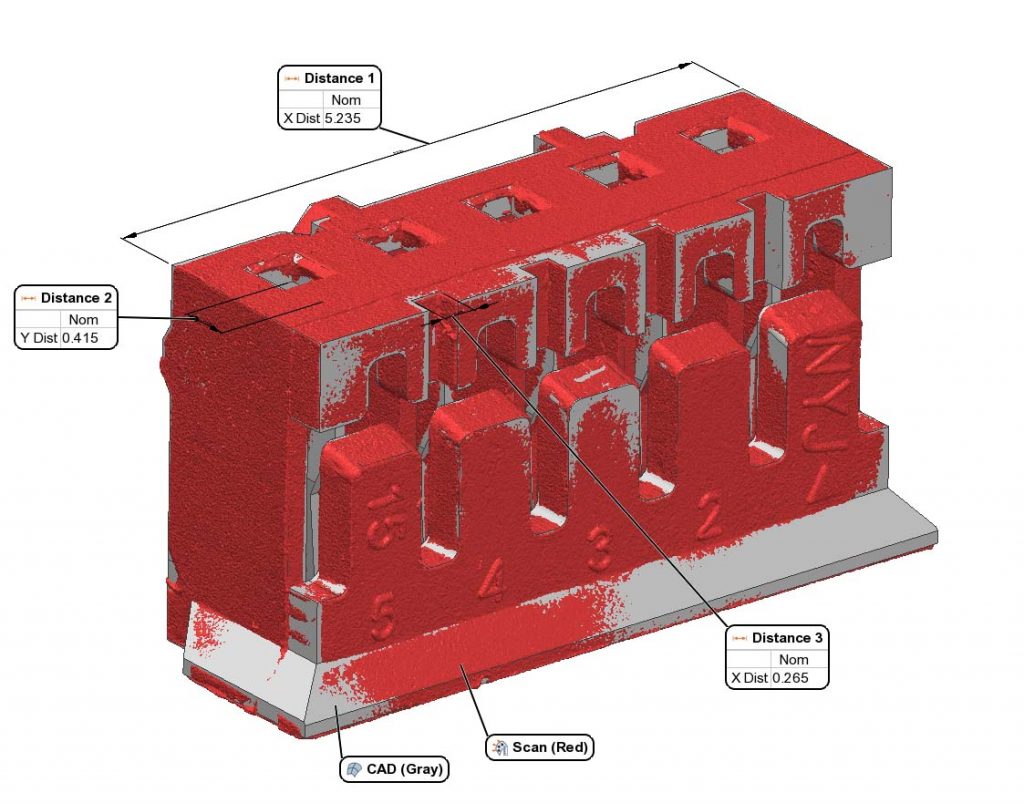
Scan to CAD analysis allows for a total view of the part. All surfaces are quantified with a profile heat map. Surfaces above CAD normal surfaces are associated with colors green to red while surfaces below CAD are associated with green to blue.
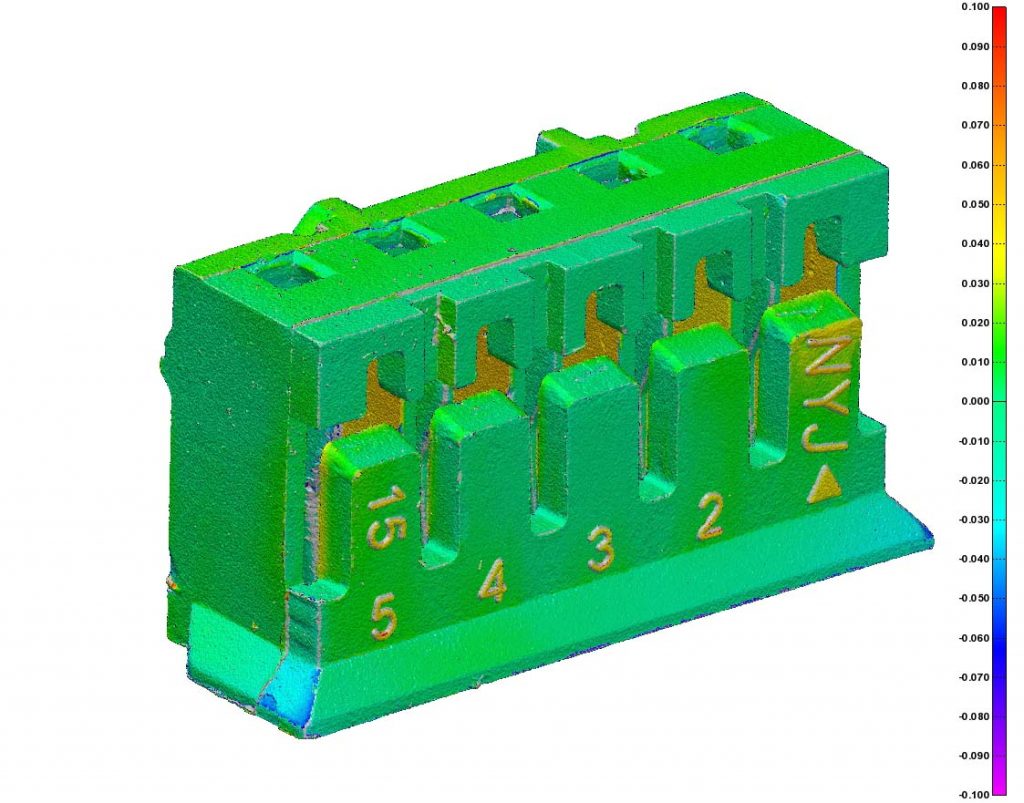
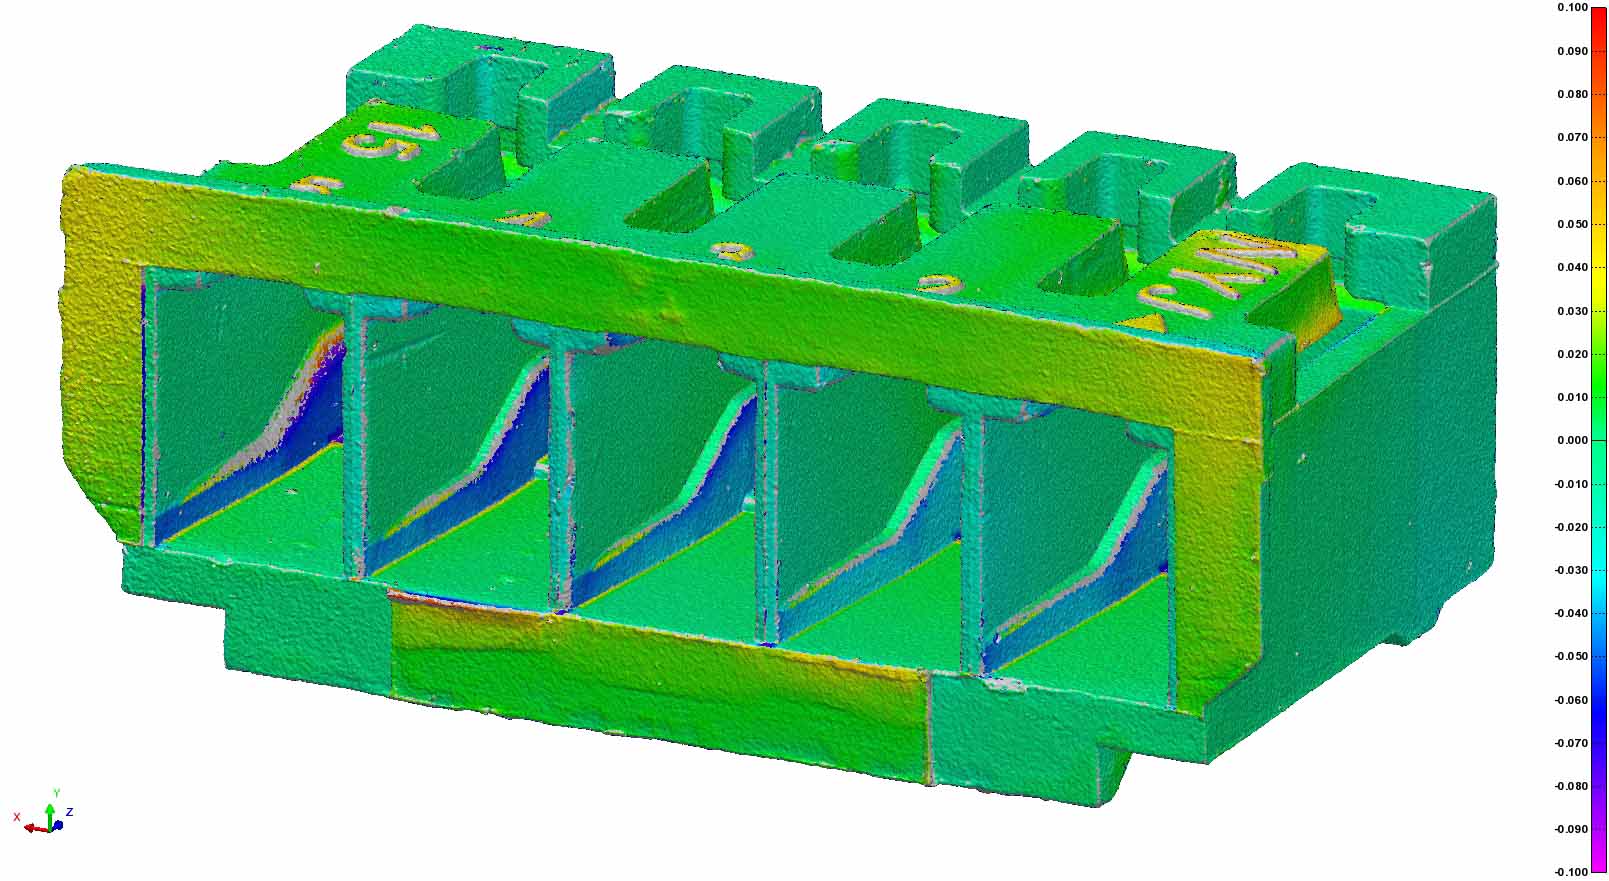
PolyWorks Inspection Options
Haven Metrology uses PolyWorks for all Scan to CAD and dimensional programming. The suite offers coordinate systems, part alignments, endless measurement tools, GD&T to multiple standards, programming & automation, as well as mesh modification and many reverse engineering tools.
